
Ever since I made this bag I've been wanting to make another bag for months now and just haven't

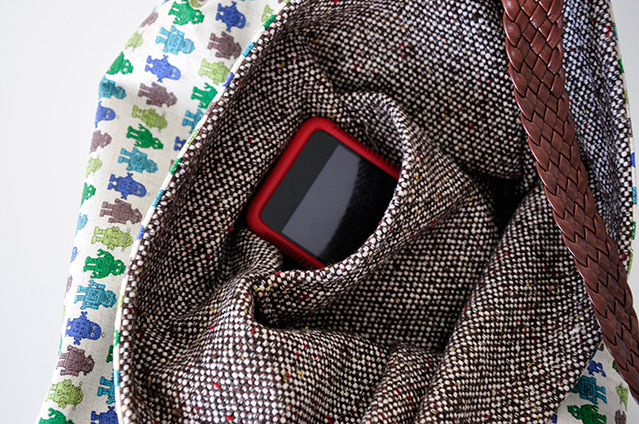
I decided that I needed a place for my keys and phone this time, so I added a pocket to the inside. I also debated about adding a magnetic snap closure but it didn't work out with my stitching at the top, so I figure that this is an idea that I can tackle a bit later on.
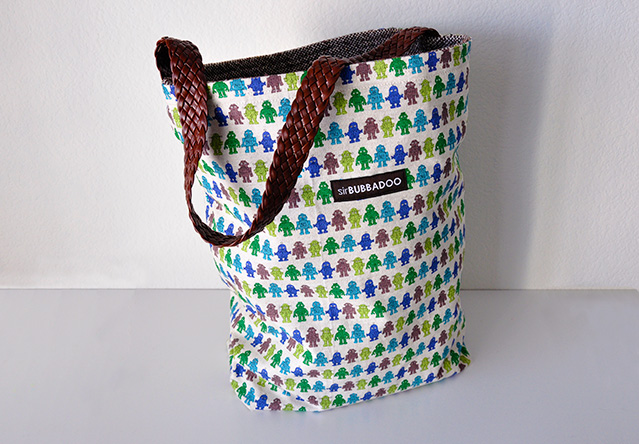
The bag is a bit deeper than normal so that I can have a row of diapers, change of clothes, etc. at the bottom and then stack other stuff on top of it (I function best this way when carrying The Bubb's stuff around).

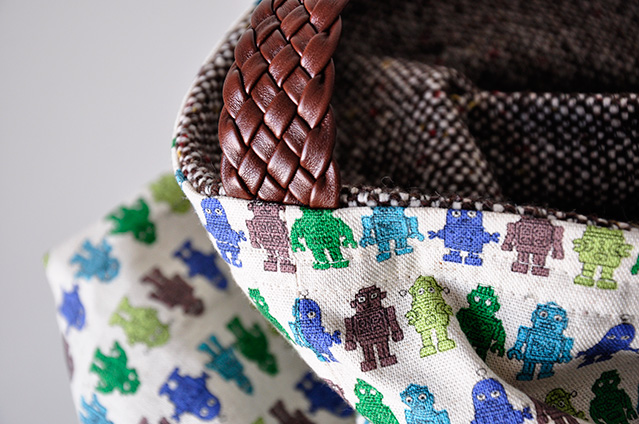
I used a braided leather strap for the handle, and installed it end to end instead of having two handles like my other bag. The handle is also a bit longer so that I can easily get into it while still having it on my shoulder.
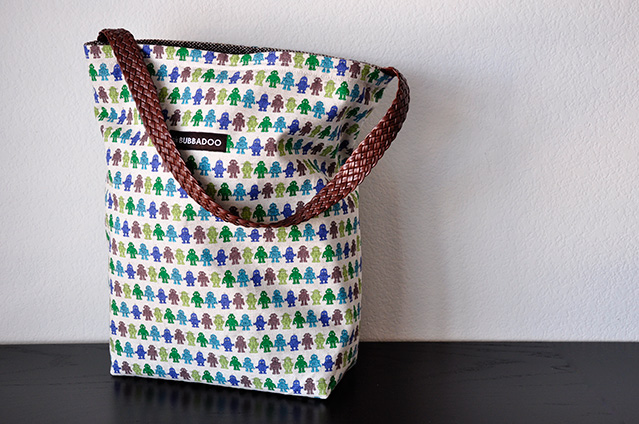
And I boxed the corners at the bottom (I do plan on doing a tutorial for this at some point...)

So excited that it is finally finished, as now I can pack both bags differently (depending on where our outing is to) and have them both ready to go so that I can just grab The Bubb and the appropriate bag and be on our way.
No comments:
Post a Comment
Hi! I love getting comments :) Please email me if you have a specific question and I'll get back to you. Thanks :)