3.29.2011
How To Install a Metal Snap
I loved making bibs for The Bubb. Something about the terry cloth was just so much fun to work with. However the only downside was installing the snaps. Although the thought of them seemed fun, it was definitely not. It took me about an hour to do each snap and many many packets of snaps (I had to take a lot of them out). I was asked to make some bibs and while I agreed and was really looking forward to figuring out the fabric pattern placement, I was absolutely dreading doing the snaps. I decided to find all the different snap install tools at the store and conquer this 'problem' once and for all. And you'll never believe that the simplest hammer method is by far hands down the easiest, fastest and just is absolutely awesome. The snaps on these bibs are just fabulous. I am so excited by them that I sorta want to come up with a project just to use more snaps!
This is the tool that I was using, it also makes eyelets, kinda like an all-in-one. That was probably my down fall. They just never properly installed with this "press".
This is the new tool. You just need a hammer, that is it. The package came with 4 snaps, but they were used by the time I took this picture (I wasn't planning on blogging about it as I didn't know how simple they would be and would want to share!)
So here are the steps to install the snaps. The diagram on the back of the package is less than helpful. First thing first, figure out where you want the socket part to be. Then position the prong part on the opposite side of the fabric and push it through, it goes really easily.
Then use a pencil eraser to push the fabric down in the middle of the snap so all the prongs are sticking up nicely.
Next position the socket part on top. Because of the grooves, you can sort of feel when it is positioned correctly because you can turn it and it feels like it is in a groove.
Position the metal tool (not sure what this is called) over it, to hold the socket in place, then hammer. I hammered probably 4 times, checked to make sure it was installed correctly, then hammered about 4 more times to make sure it was really on well.
All done!
For the other side, the snap ball, figure out where you want it to be then push the prong piece through the fabric.
Use a pencil eraser to push the fabric down so all the prongs are showing, then position the snap ball on top of it. It will feel like it is in a groove and you can spin it and it won't move when it is in the right place.
Position the metal tool on top (it has a little hole for the ball part to fit in). I thought that it would get stuck in it, but it just twists out.
Then hammer away, I did the same as before, 4 taps then check then 4 more taps.
All finished. It was so easy!
And it looks and worked so much better than any of the bibs that I made for The Bubb. I am so excited by how these bibs turned out. And it only took me about 30-45 mins to practice and then install all of them (and take pictures of the process).
3.28.2011
Giraffe Crib Sheet
Since it seemed silly just to have one new sheet for the crib, I made a second one out of some coordinating material that has giraffes on it! I had to modify a few of the steps that I used to make this crib sheet, but it still worked out well. (I only had 42 inches to play with, including selvedge, so I made the seam allowance on the corners smaller and the elastic casing smaller too. And for whatever reason, 74 inches of elastic worked really well this time). I am still thinking about bumpers but I think it is too late for those now, oh well!
3.25.2011
Baby Room Makeover
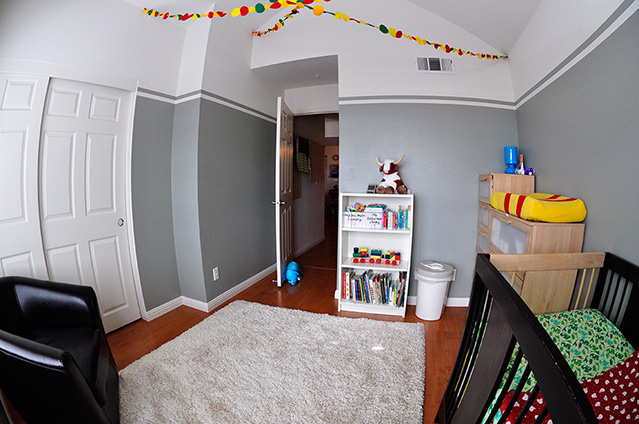
Ever since I finished decorating the family area, I've been working on redoing the Bubb's room, as we really didn't do very much to it before he was born, mostly cause we moved here the month he was born, so there wasn't a ton of time.
It isn't done yet, but the painting and furniture arrangement is finished. I just need to hang some pictures, make some pillows and do a few other fun things that I have planned.
Before:
The blue tape on the walls is when I was figuring out the stripe height I wanted. I used Frog Tape to make the stripes on the wall (you know the green masking tape). The paint is called Coastal Jetty, and I chose it in the parking lot at Lowes. Evan decided that I should just go with what I want instead of questioning myself for the next week and then coming back to this color. So back into the store we went.
Welcome to The Bubb's new room:
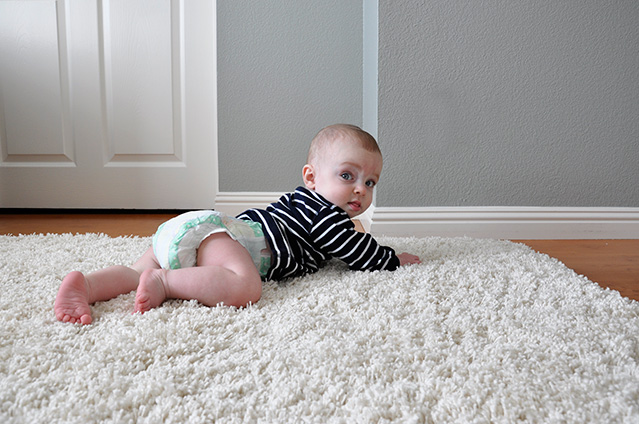
It took a while for us to settle on a rug for the room. Since there is no carpeting in our place, I decided that we had to have something plush for his room to play on, roll on, etc. So we got this one! And we are loving it! The Bubb seems to like it too...
I finally am able to wrestle a shirt onto him and this is what happens:
So I distract with toys
until I can get some pants and socks on him!
3.22.2011
It Finally Happened
For a while, well ever since I started sewing, I have been slightly paranoid about breaking a needle. Why? Well I wasn't sure what would happen, would it fly off and stab me in the eye, face, etc. Just not knowing was a huge source of my anxiety. Well it happened at last. I thought for sure it would happen while sewing zippers, but it didn't, I was piecing together rows for a patchwork blanket.
And it scared the bejesus out of me! But nothing exciting happened, no eye jabbing, it just fell to the side. And here are the remains of the needle and pin that caused all this excitement.
And it scared the bejesus out of me! But nothing exciting happened, no eye jabbing, it just fell to the side. And here are the remains of the needle and pin that caused all this excitement.
3.18.2011
3.17.2011
Are You Wearing Green Today?
In honor of Saint Patrick's day, I thought I would start if off right with a nice big bowl of Lucky Charms.
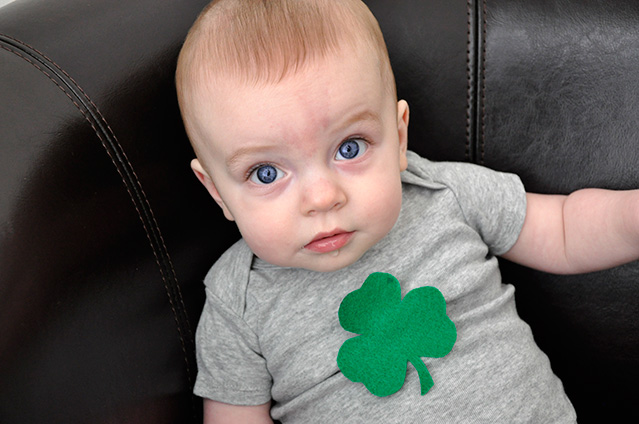
Then following along with my holiday onesie for The Bubb, I cut a shamrock out of felt for him to wear today.
Then following along with my holiday onesie for The Bubb, I cut a shamrock out of felt for him to wear today.
He wouldn't stop sticking his tongue out at me today, well only when I had the camera up! Silly boy. Oh and check out his awesome new green socks. I saw them at Target and could not resist them, they came in a three pack with two other pairs of awesome striped socks. It was weird to actually buy him some clothes since I have two really super sister in-laws who have given me clothes from their boys (as well as some stellar grandmothers!). He is one lucky little man. Have a good Saint Patrick's Day!
3.15.2011
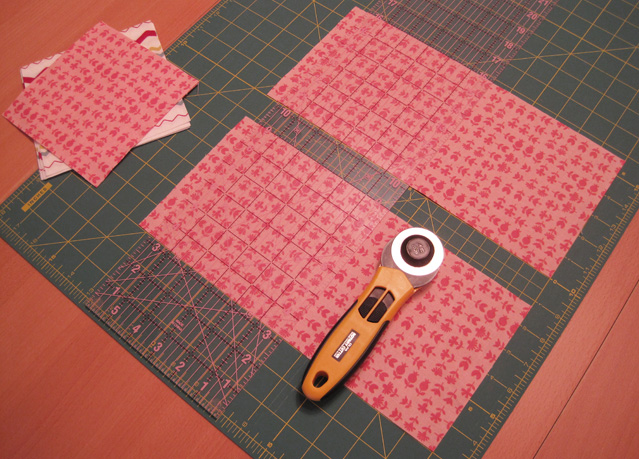
Patchwork Cutting
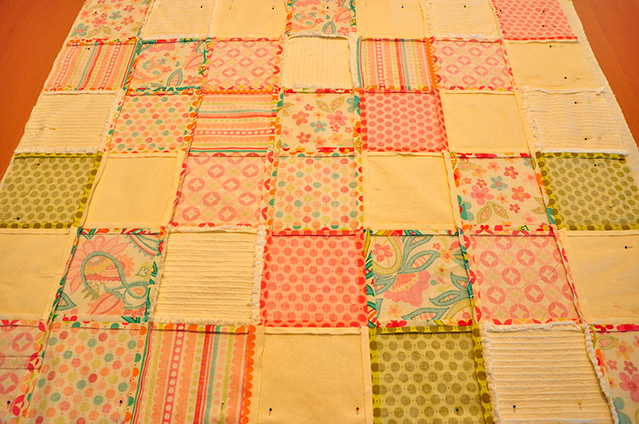
I decided to try out something new and make some patchwork blankets (quilts?). I had a bunch of left over pieces from making bicycle blankets, so I decided to give it a try. This is what I ended up with:
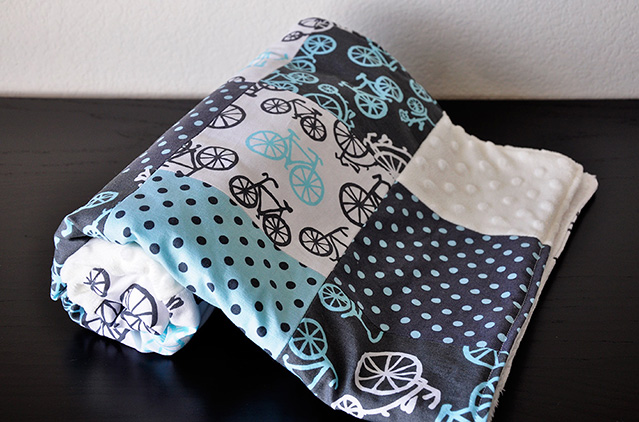

(and yes I am selling this in my shop). But another reason that I wanted to give this a try is that a new line of fabric called Hullabaloo (great name I know) for Moda by Urban Chicks is coming out in April and they are only selling preview fat quarter packs right now.
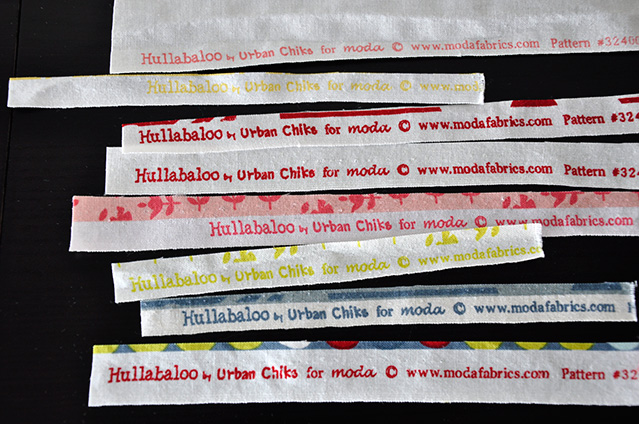
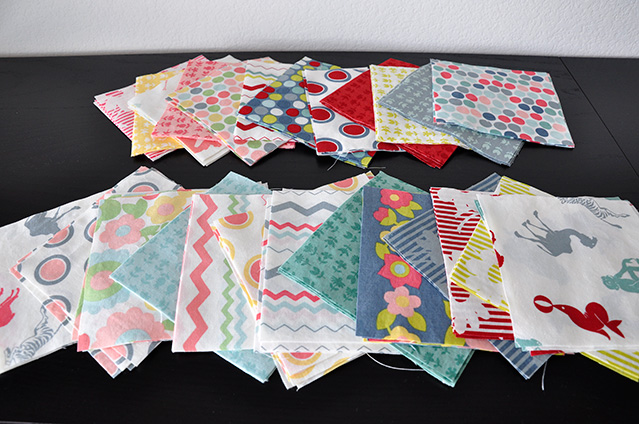
It is just a fun collection of fabric. So I've been doing A LOT of cutting yesterday and still this morning (there are 24 different coordinating fabrics) in order to make some patchwork blankets.
I am excited about this set because I can get a great boy blanket out of it too if I don't use fabrics with flowers in them! Happy Tuesday everyone.


(and yes I am selling this in my shop). But another reason that I wanted to give this a try is that a new line of fabric called Hullabaloo (great name I know) for Moda by Urban Chicks is coming out in April and they are only selling preview fat quarter packs right now.

It is just a fun collection of fabric. So I've been doing A LOT of cutting yesterday and still this morning (there are 24 different coordinating fabrics) in order to make some patchwork blankets.
I am excited about this set because I can get a great boy blanket out of it too if I don't use fabrics with flowers in them! Happy Tuesday everyone.
Subscribe to:
Posts (Atom)


