Freezer Paper Stenciling is a fast, fun and easy way to make an outfit more interesting (this could be used on any type of fabric project, obviously). Okay so what do you need?
1 Freezer Paper (wax paper doesn't work, it must say "Freezer Paper" on the box. Found at any grocery store)
2 X-acto Knife and Scissors
3 Fabric
4 Iron
5 Your Image (if you print it onto paper, you'll have to trace it onto the freezer paper with a writing implement of your choosing OR you can print directly onto the freezer paper, on the dull side, if you cut it down to fit your printer)
6 Foam Paint Brushes
7 Fabric Paint (I use Tulip brand, matte. You can get it at Michaels, JoAnns, etc.)
And now that you've gathered your supplies, let the adventure begin!
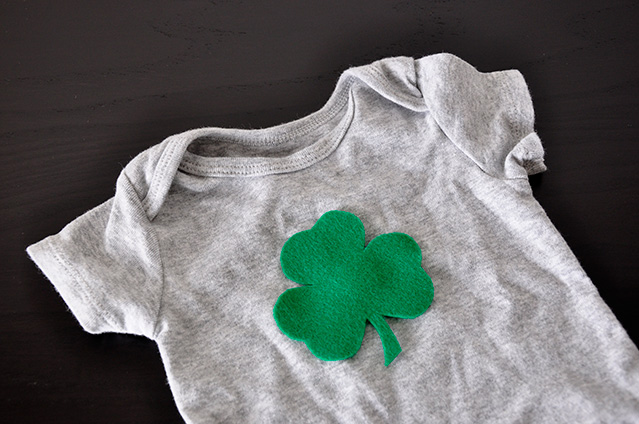
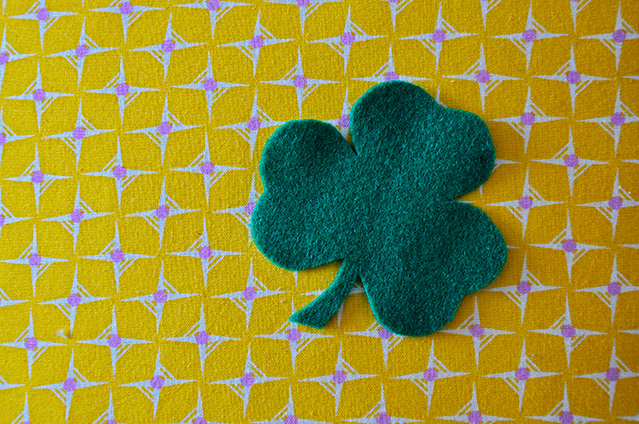
Step 1 Trace the image onto the freezer paper (for those of us who do not print directly on to it) on the DULL side (i.e. not the shiny side)
Step 2 Cut the image out using an x-acto knife (or scissors if you can manage that somehow). Remember that you are making a stencil, so it is sorta like a negative. The areas that you cut out will get painted, and the areas you don't will stay the color of the fabric. (for example if there are pieces within the image, like airplane windows, cut them out and save them cause you'll iron them back into the cut out area later). If there are teeny tiny pieces start with the smallest sections first and then go to the larger ones, it makes it easier.
Step 3 Iron the freezer paper to the fabric, shiny side down. Make sure that you iron the edges really well or leaking may occur (which actually happened on the boat, cause I don't think that my iron was fully hot at the time).
Step 4 Put wax paper inbetween the layers of fabric incase the paint bleeds through (especially if you are doing multiple coats of paint.) You can probably use something other than wax paper, it was just the first thing I thought of...
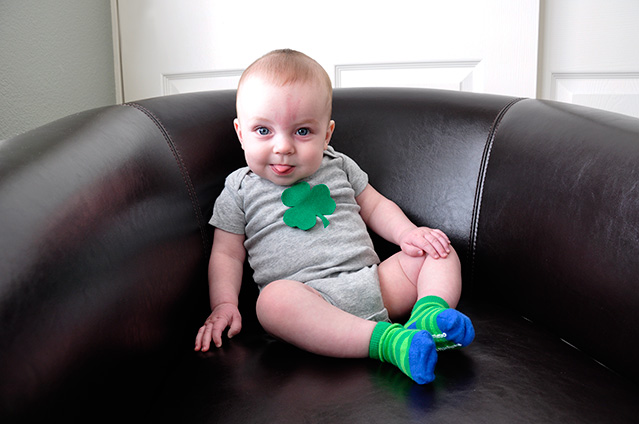
Step 5 Paint, paint, paint. For the boat and plane I did two coats. For the
batman onesie awhile back, I did 3 three coats, and the
Quincy onesie I did two. I would probably put 2 or 3 hours inbetween coats, of course you can use a hair dryer to speed up the drying, if you are impatient like me. Well to be honest I don't always wait until it is completely dry to add another coat.
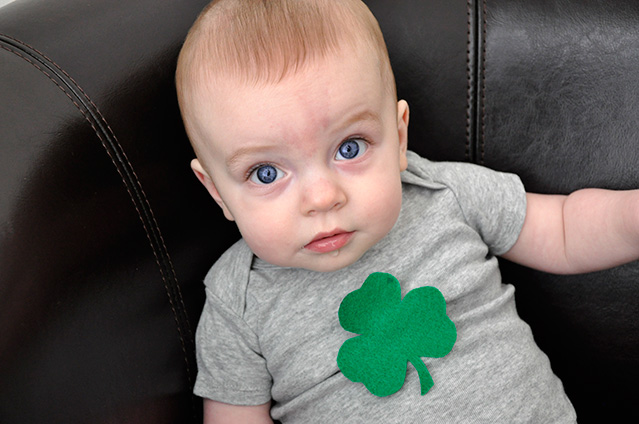
Note: One problem I haven't solved yet is how to prevent the paint from cracking a little after many washes, or when it stretches across the Bubb's large tummy after eating. If the fabric won't ever stretch (like on a bag or a regular t-shirt (not onesie), this probably wouldn't be a problem.
Step 6 This is by far the BEST step. Pulling off the freezer paper. Just lift a corner and begin to peel. The first time I didn't think that it would work, but it totally leaves a nice clean edge, it is awesome. For the little pieces, like the airplane windows, I sorta pinch at the freezer paper and pull it off. For really small pieces, like Quincy's eyes, etc. I used tweezers to help me.
Step 7 Iron over the finished product, with a cloth between the iron and paint, just to help fuse the paint down.
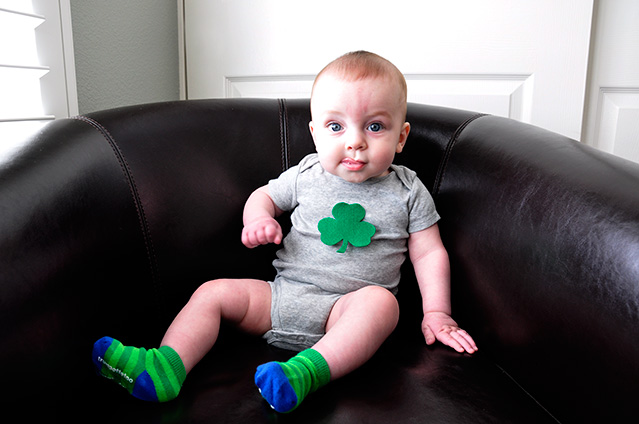
And you're done! Enjoy your newly made items!!
MULTIPLE PAINT COLORS: You can also do Freezer Paper Stenciling with multiple paint colors too although it can be a bit more tricky if it is a small design but it definitely works. I made this shirt for his
UNO birthday party. I used the same steps as above except I printed directly onto the freezer paper by cutting the freezer paper to 8.5x11 and then sticking it into the printer to print on the non-shiny side. It was super easy. Then I painted with the different colors and used a foam brush and tiny paint brushes to do the letters. Each color got 2 coats. (And I know I've been complaining about the paint cracking...but it hasn't on this shirt and I think its because it is a shirt and not a onesie made from knits.)
Tips To make it last longer, I always wash them inside out. I think that the paint brand recommends not washing for 72 hours. Also, when painting, I paint/dab in any direction I feel like to get the majority of the paint on and then I use downward brush strokes over all of it, to make the paint all seem to be going in one direction.
This tutorial has been featured on: