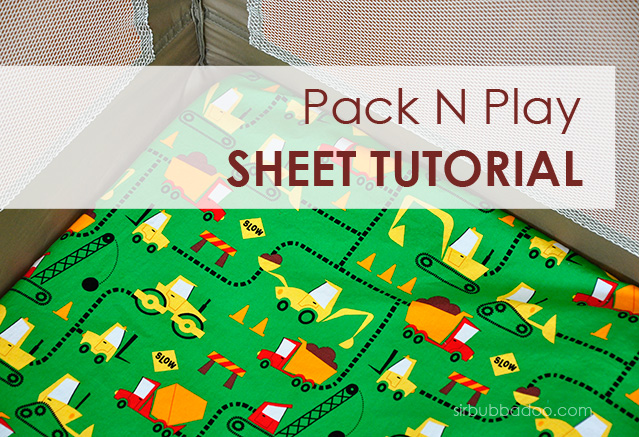
Even though we've had our pack n play for maybe a year, year and a half now, I have yet to actually make a little sheet for it. I've made them for other people, but not for us. Crazy how that works out sometimes. Usually I just put blankets down on the bottom for him to sleep on when we're travelling but I finally decided enough was enough, I was making one.
The process to make this sheet is the same as a
crib sheet/toddler sheet or a
changing pad cover.
Okay so here we go!
Step 1 Measure the pack n play pad at the bottom, as they all vary slightly different in size, so my measurements below will most likely not fit your pack n play, unfortunately, but adjusting the measurements is pretty easy. Ours measures 26.5 by 37.5 inches*.
*If yours measures different, this is how I calculated the final numbers: Our pack n play pad measures 26.5 inches by 37.5 inches. So add 0.75 inches to these numbers (as I use a 3/8 inch seam allowance) for your corner seam allowances. And you get 27.25 inches by 38.25 inches. I wanted the depth to be 1" so that it had a secure fit, add 1 inch for depth (all the way around) so you really it is adding 2 inches to both numbers, so 29.25 by 40.25 inches. A casing for the elastic is needed plus a little wiggle room, so I added another 1 inch (all the way around), so 31.25 inches by 42.25 inches is my final cut size.
These are the supplies that I used:
- Piece of fabric 31.25 inches by 42.25 inches (1 yard of fabric)
- approximately 70 inches of elastic
Step 2 Cut a rectangular piece of fabric, my cut was 31.25 inches by 42.25 inches (see note above for how to calculate, if your pack n play is a different size than mine).
Step 3 Cut a 2" square out of each corner in order to make the corners.
{Please note if your fabric cut size is different than mine, you'll need to calcuate how big to make these corners, as it may vary. I got my 2 inches from: 42.25 inches (final cut size) - 38.25 inches (the finish size that I want plus seam allowance) = 4. But this number is for 2 corners, so divide that by 2. And that is how I got 2 inches. }
Step 4 For each corner, put right sides together and sew. Do this 4 times and you'll have 4 corners, neat and square (sorry I've been reading Mike Mulligan way too much to The Bubb).
Step 5 Serge the edges together of each corner. And serge along the entire bottom edge. { If you don't have serger you can still use these steps, but you may have to allow for more fabric to make the casing, so you'll need to adjust the measurements. }
Step 6 Fold up the serged edge all the way around about 1 inch. Add a label and pin in place. I don't pin the entire way around. I pin for about 3 inches on either side of my label and some reminder pins for a start and stop point.
Step 7 Sew along the serged edge to make the elastic casing, remember to leave an opening to put your elastic in later on.
Step 8 Thread you elastic all the way around. I find that a safety pin works really well. I used about 70 inches of elastic. I actually had a 4 yard piece that I was working with and just kept adjusting it/trying it on until it fit with the tightness that I wanted and then cut off all the excess. I would suggest this is the best method to get the fit you want. Zigzag stitch the elastic ends together and pull them inside the casing.
Step 9 Close up the casing and you're done!
And, yes, I had to make him a matching blanket. I put organic sherpa on the back (love love love) and then 'quilted' seven rows across horizontally to give it a more polished look. An no, I wouldn't normally go for this print, even though it is cute, but he really likes it, so if it makes him happy then we are happier :)


