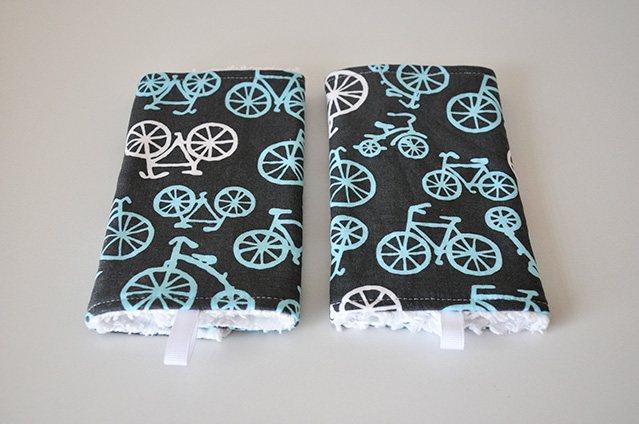
I got asked to make some drooling pads / sucking pads for an Ergo carrier a few days ago and after a bit of research I went for it. I am pretty excited by how they turned out and wanted to share how they were made. It was fairly simple so if you need some place for your baby to drool that you can wash easily and change up frequently, then this could make your life a lot easier :) (I would imagine they would easily fit on car seat straps too)
Obviously adjusting the size is fairly easy to do but this is how I made my pair.
Supplies Needed:

1 Material
- 7.25 inches x 10 inches (x2) pieces of fabric
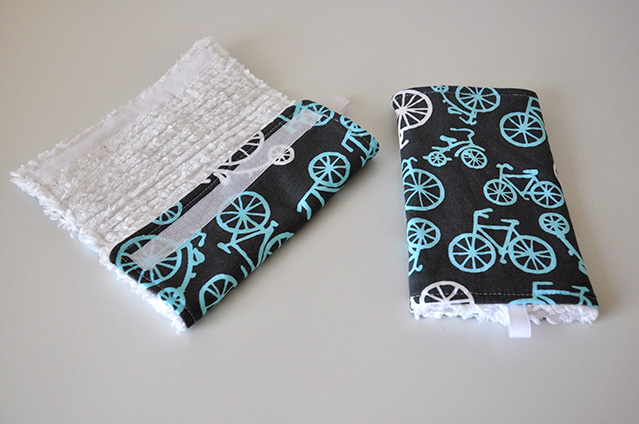
- 8.25 x 11 inches (x 2) pieces of backing, could be chenille, sherpa, terry cloth, anything that you want to absorb and pad.
- 7.25 inches x 10 inches (x2) of flannel. Could use cotton batting, or leave out, depends on how thick/absorbent you want.
2 Other
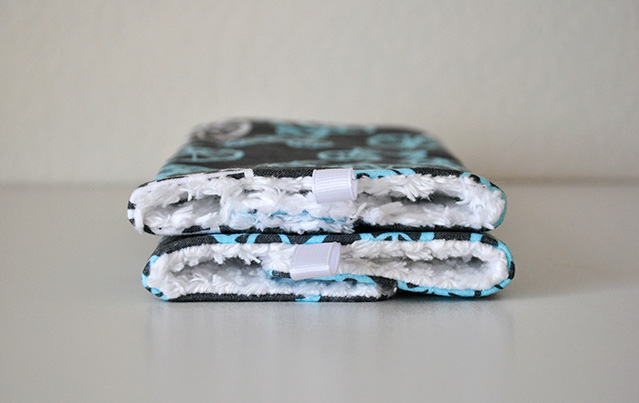
- 12" Velcro. Could probably easily use snaps too
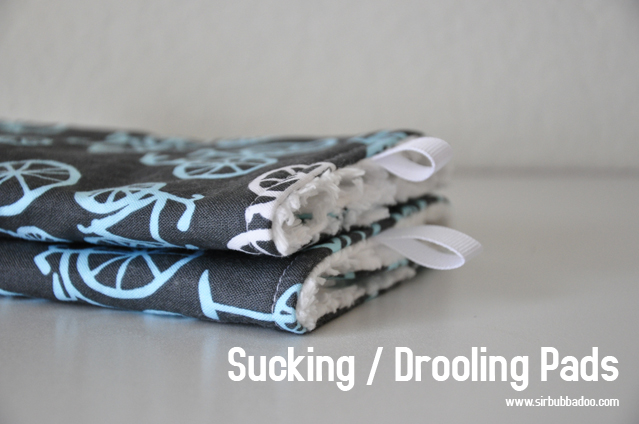
- 7 inches of ribbon. This makes 2 loops, obviously you could have no loops or 20.
I used chenille, flannel, and Velcro to make my pair.
Now that you've got your supplies figured out lets get started.
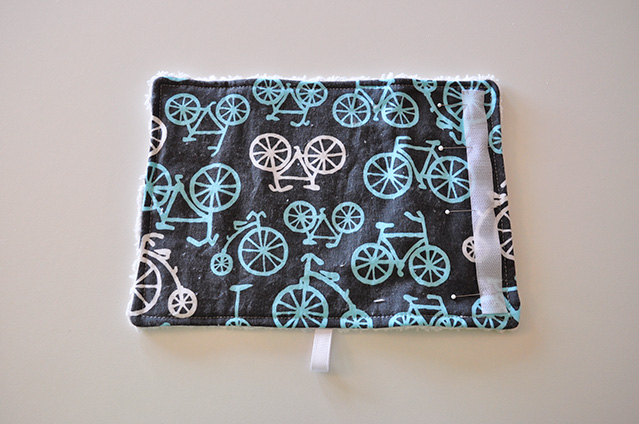
Step 1 Cut your pieces of fabric and flannel to be 7.25 x 10 inches. They wrap horizontal, so take that into consideration when cutting your print if you wanted it oriented a particular direction. Cut your chenille to be about 8 x 11ish.
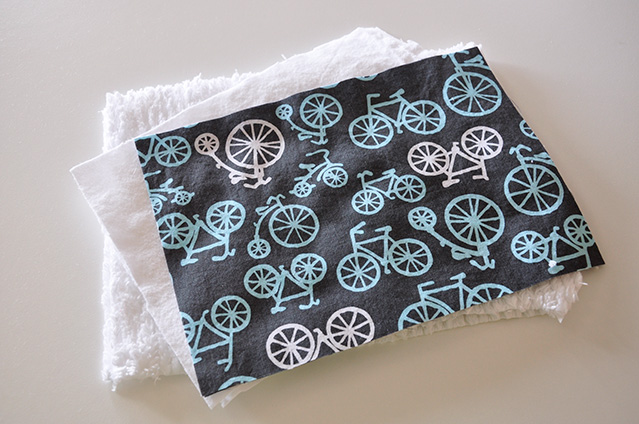
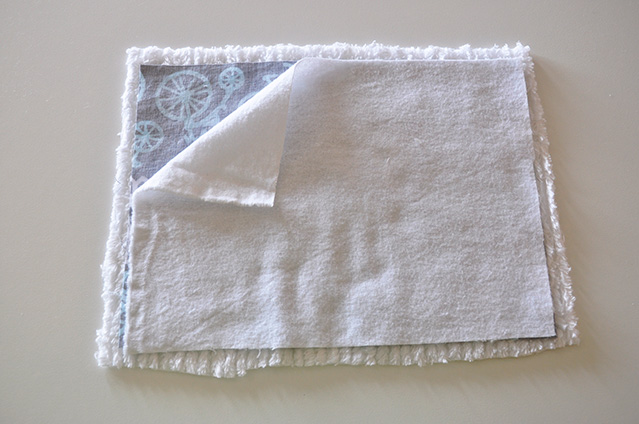
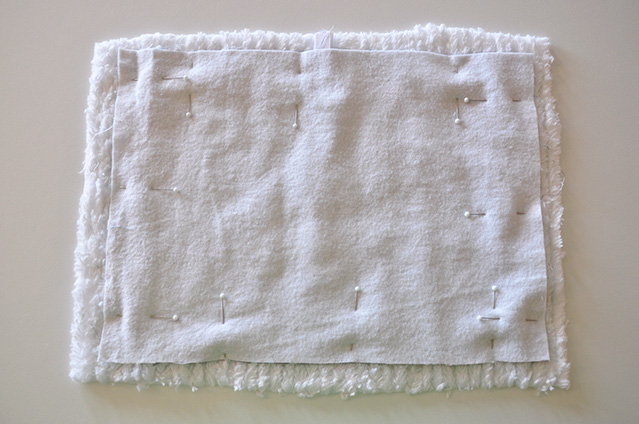
Step 2 Layer them so that the chenille is facing up, the fabric is right side down and the flannel is on top of the bikes, creating a 3 layer sandwich.
Step 3 Cut half your ribbon, about 3.5 inches or so. Depends on how long you want your loops to be, how many, etc. Then center it horizontally, so at about 5 inches. Put the loop part inside the sandwich between the chenille and bike layers. The ends of the ribbon should be sticking out. Pin in place - I actually pinned it to the bike fabric inside my sandwich.


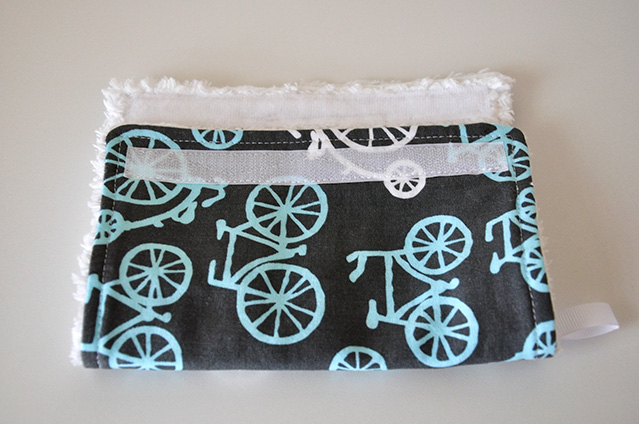
Step 4 Pin the three layers together. [I deviate a bit from my steps here as I want to attach one side of the Velcro now instead of at the end. One of my biggest pet peeves is labels/velcro stitching showing through to the other side, so whenever possible I try to stitch it down before I finish my items - so I will show the steps on how I did that here] After pinning the three layers together, I unpin about a 1/3 of them on one end, and use those pins to outline where the fabric (bike and flannel layers) hit the chenille layers.
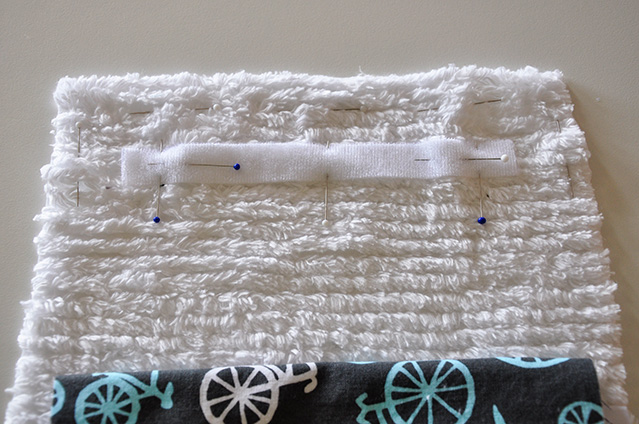

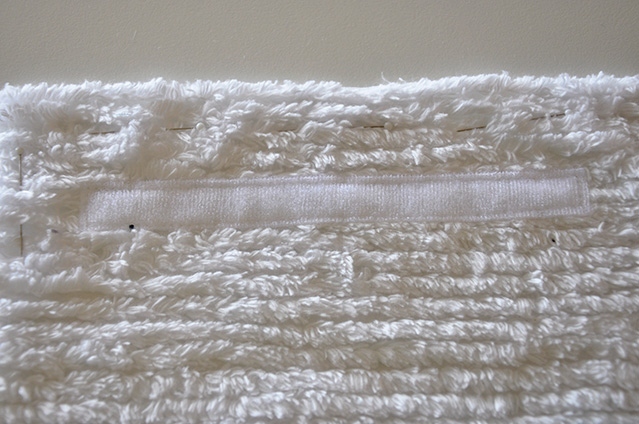
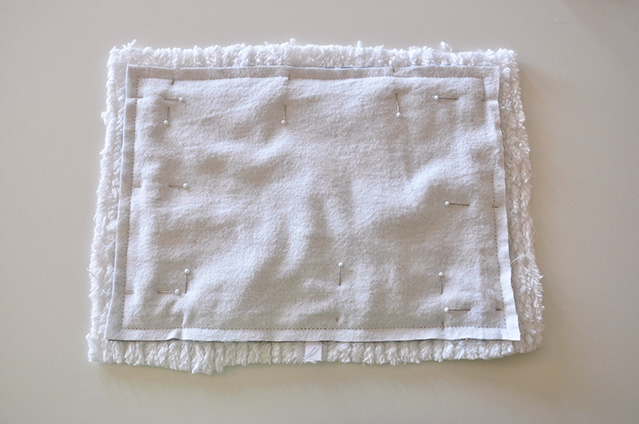
After outlining, get your piece of Velcro, about 6 inches, and place it 5/8 inch from the sides. Why 5/8ths? Well I have 3/8 seam allowance and I don't want it to be right next to the edge so I bump it in 1/4 inch. Pin the Velcro in place. I put the fuzzy Velcro on the chenille side, I doubt it really matters...So if you are putting your Velcro on now, it should look like the picture above. Sew the Velcro down.
Now pin the original 2 layers back down on top of the chenille, as we were doing at the beginning of Step 4.
Step 5 Sew the three layers together using a 3/8 seam allowance. Leave a small 1" hole somewhere. I chose one of the ends.
Step 6 Unpin and cut the chenille to be flush with the other 2 layers.

Step 7 Flip inside (rightside) out.
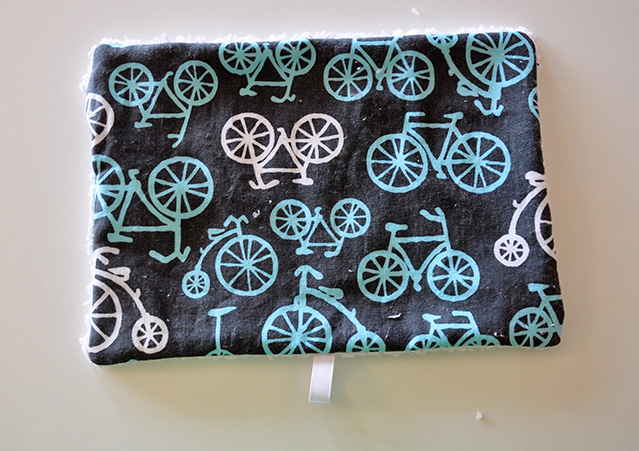
Step 8 Pin in place and topstitch the three layers together.
Step 9 Add the other side of the Velcro on. If you were not adding the Velcro at Step 4, this is where you would add both layers of Velcro.

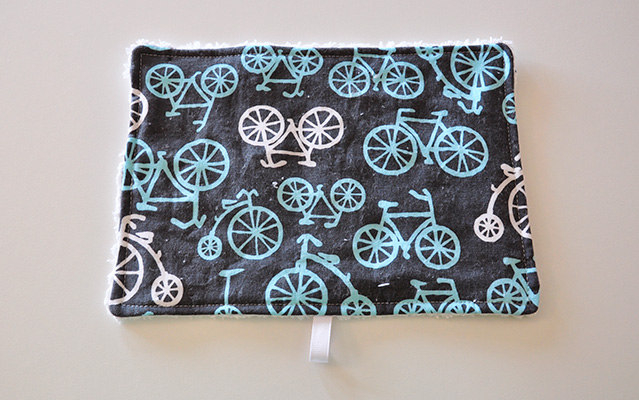
Step 10 Add your label. I thought that just having it on one would be enough, having it on both seemed like overkill to me.

And you're done! Yeah!