Showing posts with label felt. Show all posts

8.30.2011

Tutorial: Birthday Banner / Birthday Bunting

I always hear the word bunting now instead of banner and perhaps I've just lived in my bubble for too long as I really didn't know what a "bunting" was, a fancy name for a banner? So I looked it up on Google. It is "flags and other colorful festive decorations". So I guess this birthday banner is a birthday bunting. Either way, these are my steps for how I made The Bubb's first birthday sign decor.


Supplies:

1 1/2 yard of EcoFelt (from JoAnn). I used many different colors but all in all including the backing it was less than a 1/2 yard. (you could easily make them with regular cotton fabric, etc.)
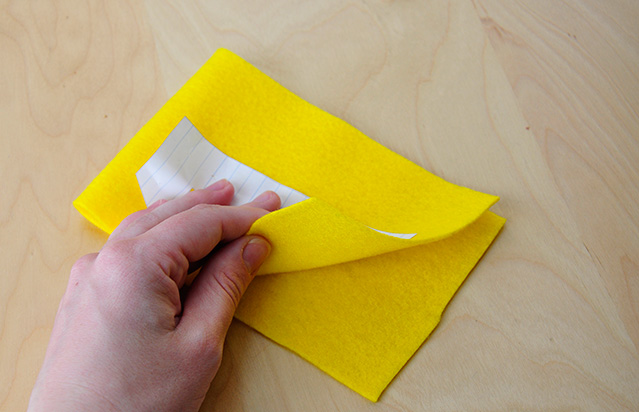
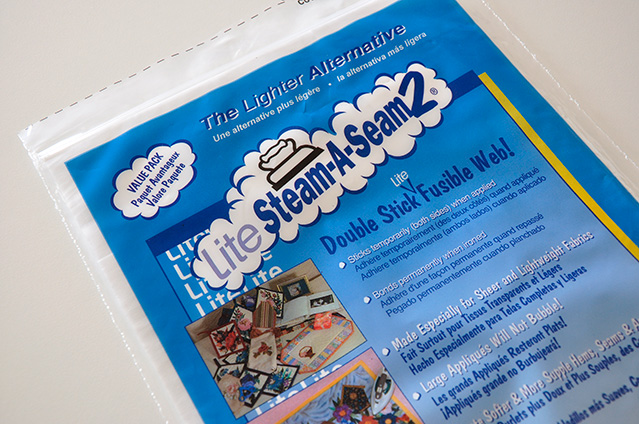
2 Lite-steam-a-seam 
3 Twine/Rope/ribbon/etc. I got 5 feet of this cotton tape stuff at JoAnn. I liked the look of it as opposed to a round rope type.


I know there are many ways to put these together, but this is how I made mine :)


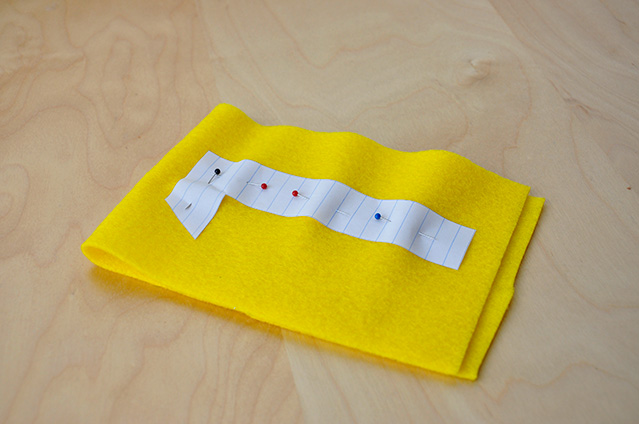
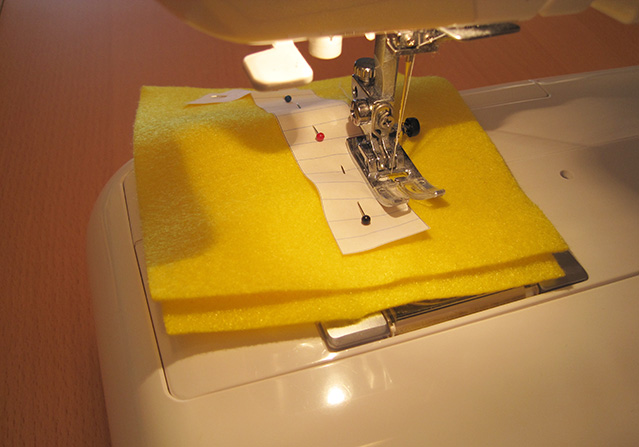
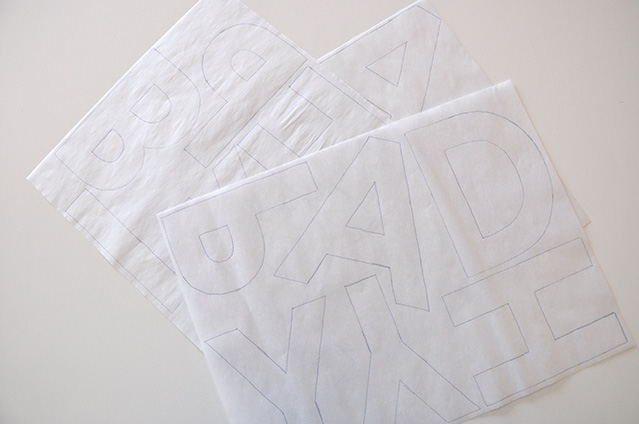
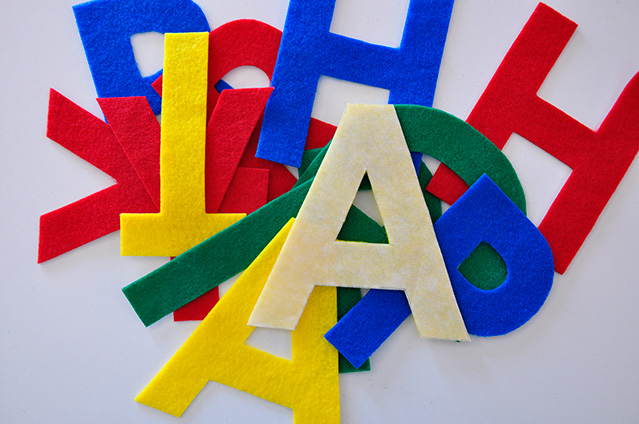
Step 1 Print out your letter (or hand draw). I used Century Gothic size 475. I printed them on binder paper and in outline form. Now originally I cut them all out, as shown below, as I wasn't really thinking about what I was doing and was thinking felt numbers. BUT you don't need to cut them out if you are going to applique them on - which is what I am about to do :)


Step 2 Trace the letters backwards onto Lite-Steam-A-Seam or similar. This will make appliqueing much easier. This is also why you don't need to cut them out, as you can just trace them from the paper straight on. If you have a hard time seeing the letters backwards through the paper, just trace them with it held up to a window or light-box.


Step 3 Place each letter onto the felt color that you want. Peel off the extra paper so that the sticky side is now on the felt. If you are using regular fabric you'd need to place them on the wrong side of the fabric, but for felt it doesn't matter so much.


Step 4 Iron them down.


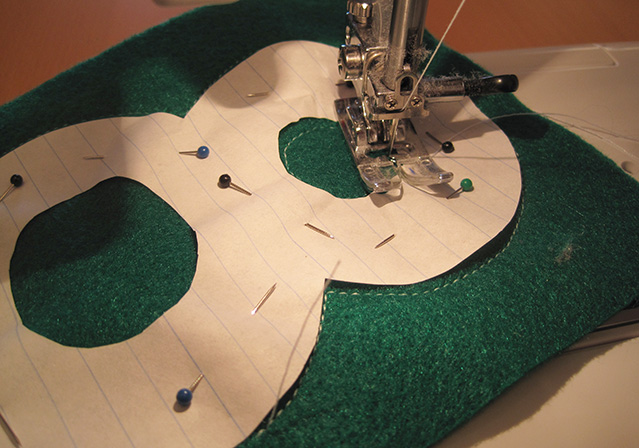
Step 5 Cut out the letters (this has always been one of my favorite steps for any applique project)


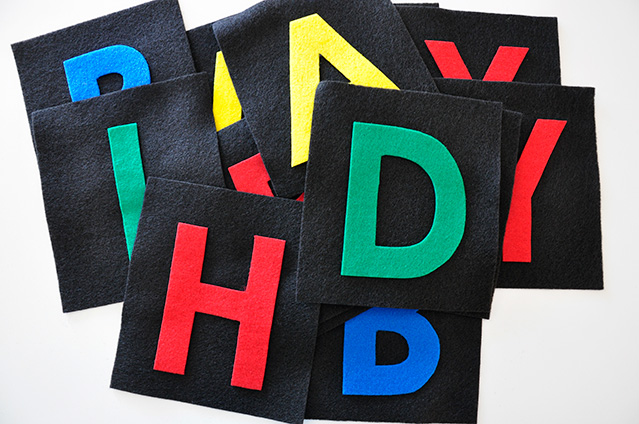
Step 6 Cut out the rectangle backings (or pennant shape backings). Mine were 6.25 x 7 inches.

Step 7 Place and center the letters onto the backings. Peel off the other paper side of the letters and now you have a sticky side again, and press them onto the backs. Then iron them down. At this point they will stick forever pretty much if you do a good job ironing.


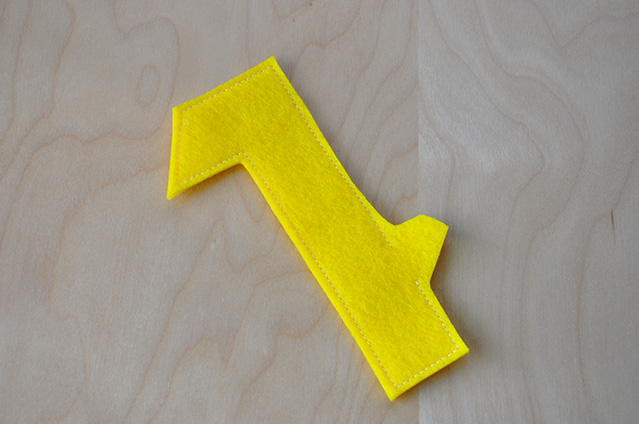
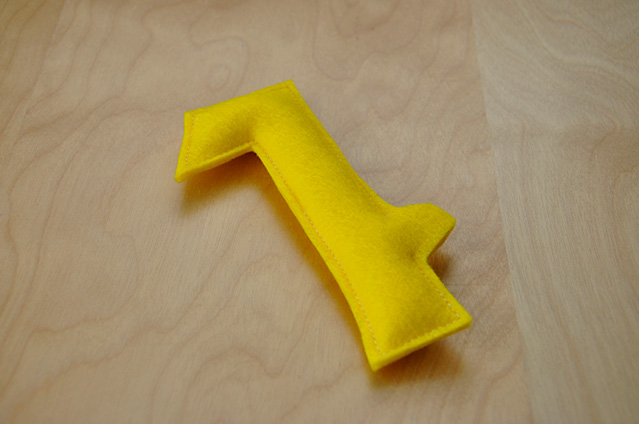
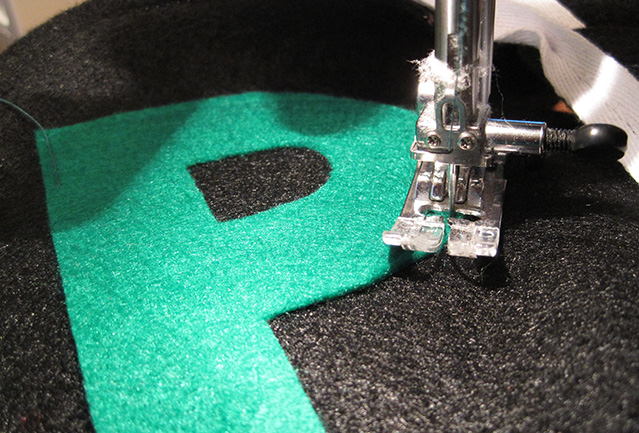
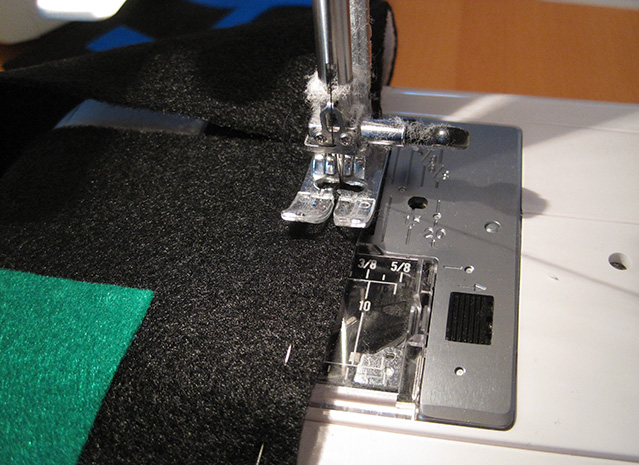
Step 8 But I decided that I wanted to top stitch them for a more professional look.


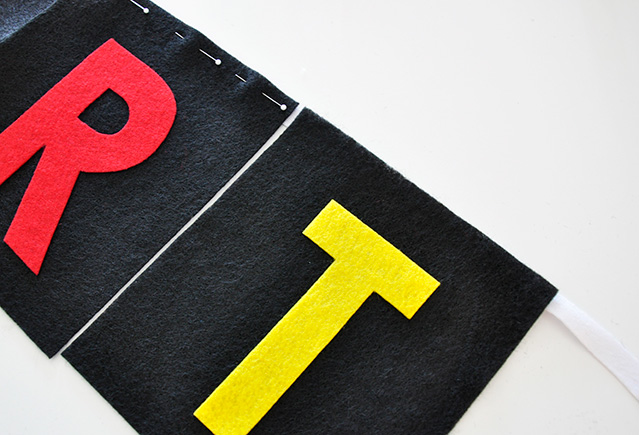
Step 9 Place the letters onto the twine/string/ribbon/bais tape/etc. and pin down. I found the center of the 5 ft and started there and worked out, as I didn't know how much extra I wanted on each end for hanging. I placed them pretty much right up against each other - that way when they are hung in an arc, they will separate a little and won't have additional space in between them.


Step 10 Sew them down. I didn't wrap them around the top or anything like that, just lined them up to the top of the cotton tape and then sewed a 1/4 inch down from the top.


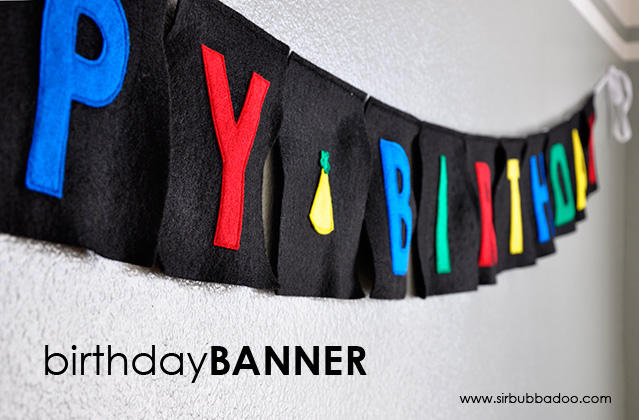
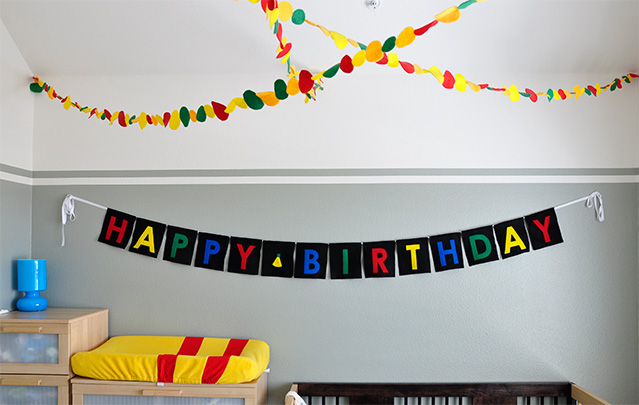
And you're done! I also inserted a "blank" square inbetween Happy and Birthday. Then I opted to add a cute a little party hat, made out of felt, to make it more interesting.


Right now it is hanging up in The Bubb's room but I really made this to hang at the party, but I figured he could use a little decoration in his room (since I still haven't gotten around to really decorating...at least it is painted and has felt garland :) )

4.09.2011

Tutorial: Felt Numbers


Okay so I know that The Bubb is a little on the young side to be learning to count. But when I made this felt seven for his 7 months old post, I just couldn't stop thinking about it and decided to make a whole bunch (but on a smaller scale). Cause well why not?


Felt numbers are really easy and cheap to make and hopefully they'll get a lot of use at some point.

Supplies Needed


1 Colored felt. I used maybe a 1/4 yard of a variety of felt colors. This is a great way to use up scrap felt you have on hand!
2 Polyfill or something to stuff them with. I would think beans of some sort would work if you want them to be heavier (in case you want to toss them)
*I also found a chopstick really helpful to stuff them

Okay lets get started!

  
Step 1 Type numbers in a word document and then print them out. I used Century Gothic size 500 but the size and font is entirely up to you! You can also just sketch out your own numbers too.  In order to save ink, etc. I  made the numbers into an outline before printing. The numbers I did were 0-9 plus a +, -, = and / just to make it complete!


Step 2 Cut those numbers out.


Step 3 Put the number onto the felt to see how big a piece of felt you'll need, then double it. Cut out that piece of felt. Then fold the felt in half and place the number on top.


Step 4 Pin the number to the felt. (you could also trace them with chalk/disappearing ink, but for me these tools always waste a lot of my time and this seemed just as easy)


Step 5 Sew around the number on your sewing machine but make sure to leave a finger sized hole. If you wanted flat felt numbers (i.e. no filling), don't leave a hole, just stitch all the way around. If you are sewing the 8, 6, 9 and sometimes 4, go ahead and stitch around the "circles" inside those numbers.


Step 6 Remove the paper number and pins and cut out the felt number. I left about a 1/8" of felt on the outside of the stitching. Also leave some felt around where the hole you left is. It makes it so much easier when stuffing and when sewing that hole closed later on. Cut out the "circles" in the 8, 6, 9 and 4 as well.


Step 7 Stuff your number with your filling of choice. I used Polyfill. There are tons of options out there. You could also use some sort of beans to make them heavier. I found a chopstick to be very useful to help get the stuffing all the way around in the numbers. You can stuff them as little or as much as you want, it is entirely up to you. I think I overstuffed mine a bit, but they still look okay to me!


Step 8 Stitch up the hole.


Step 9 Cut off that tail flap of felt.


and you're done! Admire you newly created felt numbers.


If you wanted to make a felt alphabet obviously the steps would be the same, but I'll do that some other time! I tried them out on The Bubb. He didn't like them quite as much as the felt gingerbread men but still seemed entertained. 


I've put this into the Tutorials in case you want to find it at a later point. Hope everyone is having a good weekend and happy felt making!

3.17.2011

Are You Wearing Green Today?

In honor of Saint Patrick's day, I thought I would start if off right with a nice big bowl of Lucky Charms.


Then following along with my holiday onesie for The Bubb, I cut a shamrock out of felt for him to wear today.


He wouldn't stop sticking his tongue out at me today, well only when I had the camera up! Silly boy. Oh and check out his awesome new green socks. I saw them at Target and could not resist them, they came in a three pack with two other pairs of awesome striped socks. It was weird to actually buy him some clothes since I have two really super sister in-laws who have given me clothes from their boys (as well as some stellar grandmothers!). He is one lucky little man. Have a good Saint Patrick's Day!


Related Posts Plugin for WordPress, Blogger...