Showing posts with label DIY. Show all posts

1.14.2013

White Hardwood Floors


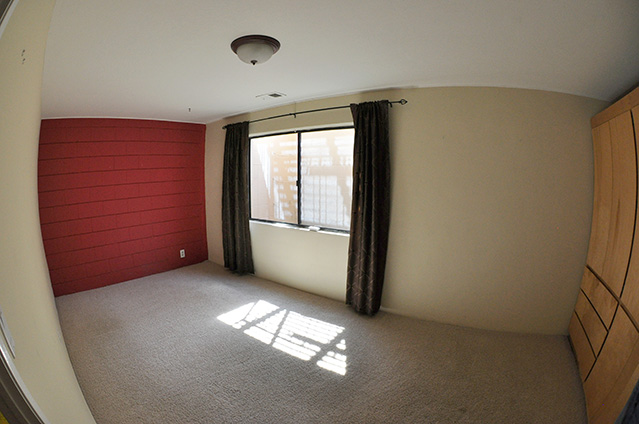
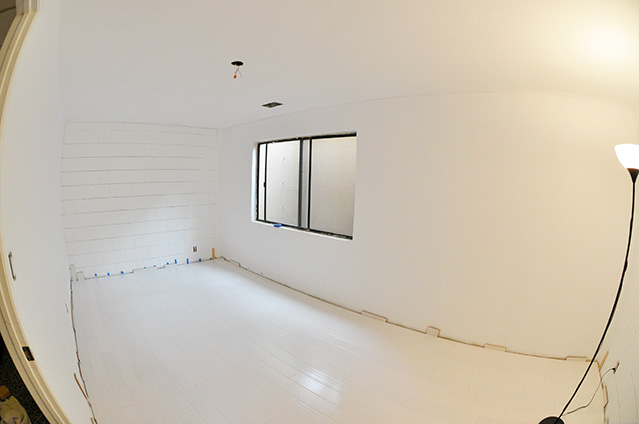
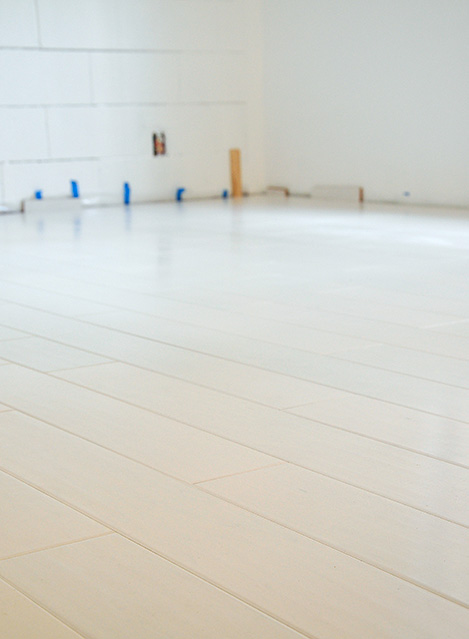
Just wanted to give everyone a sneak peak of our finished hardwood floors. We finished installing the floor a few weeks ago over the Christmas break and I cannot begin to express how excited I am about them, as they are WHITE! After we tore up the carpet, we knew that there would be a concrete slab. We thought about staining that white (or another color) for a while since I couldn't find hardwood that was naturally white, obviously. There are so many beautiful and bright pictures of Scandinavian homes that have white wood floors, most treated with some Lime process - Evan looked into the specifics and well that wasn't really a option for us. Then we thought well we could paint them white, also not an easy or practical thing to do, since there wasn't any hardwood floor there already. If it was a 100 year old home with floors already there that were kinda beat up, then yes I'd be all for painting them. But it didn't make a lot of sense to buy new wood floors and then paint them. (and of course laminate was not an option - yuck!) Anyway.

After a very very long search, I finally found white hardwood. They are actually maple and painted white by the manufacturer, and so it is long lasting and doesn't need to be repainted every year to maintain its color. It is an engineered maple hardwood, as we couldn't nail them down easily due to the concrete slab. So happy!!

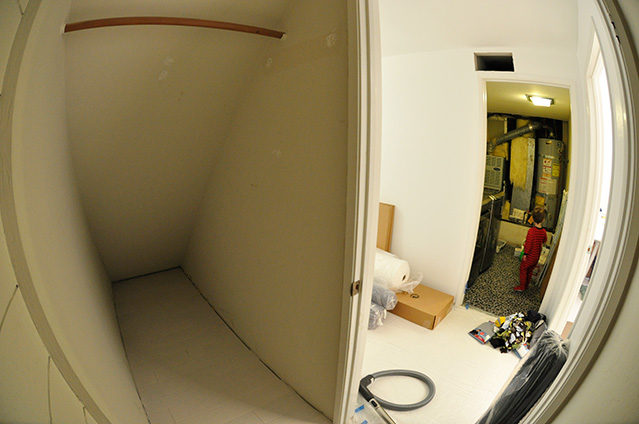
Since I am quite embarrassed by the state of our current basement with our gigantic mix of boxes, fabric and furniture here are some pictures of the process and I promise to do a basement tour after everything is finished :)

Here we are laying the moisture barrier, padding and floors in my sewing room:


Emmett moved right in in typical Bubb fashion


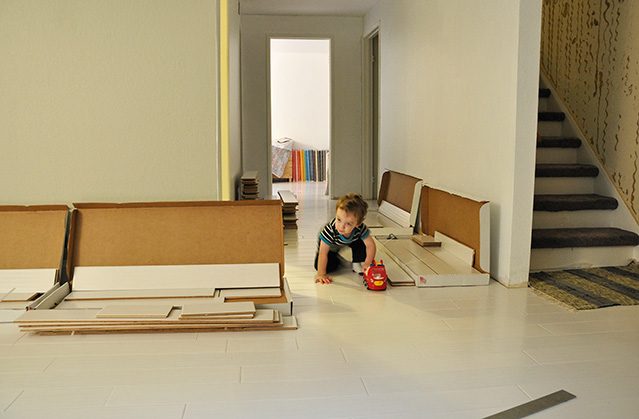
I was getting pretty nervous of if we ordered enough wood after we got done with the 'wet bar' room to finish under the stairs but we had enough and a few pieces left over.


Now I just need to find baseboards and then move all the stuff out of the way to install them. Ideally we would have liked to have the entire floor finished before we moved in, but you know, we are only about 2 months behind schedule and well life happens :)

Hope everyone has a great week!

10.16.2012

Buh Bye Carpet


The first thing to go was all the basement carpet. Since the basement is primarily going to be our my office/sewing/craft space, carpet just doesn't work. I finally found the perfect hardwood to put down there, so excited about it, instead of staining the concrete. While concrete would look awesome, I think hardwood is going to look a lot better (granted it does cost quite a bit more compared to a couple of gallons of stain).

We opted to do installation ourselves to save some money. The first thing we my significant other and father in law did was remove all the carpet.


Then the cabinets (while spacious but totally useless for me) had to come out and of course the wet bar. I am thinking of using the sink outside somehow for Emmett to play with...ideas ideas. And we are going to keep a couple of cabinets to use in the garage cause they are great storage.

{from this}


{to this}


But they need to be bolted and that wall/cabinets definitely need some paint, but that is a project for another time I think.

After these came out, we removed the few random baseboards and the last of the nails in the concrete. Then my Dad got to work removing all the nails, hooks, shelves, etc. from the walls and got it somewhat ready to paint.

Next we took a straight edge and found all the low and high parts on the floor, as anything over 3/16 of an inch in variance over 8 feet needed to be fixed. We found some bumps - meaning drips of concrete when it was installed, etc. and removed those with a grinder. Then for the low spots we applied a very fine layer of concrete on top to make them within the accepted tolerance. Next up was filling in the few cracks that had formed from the ground shifting and those lovely California earthquakes and some other random holes found (and maybe caused from pulling up the carpet). But they needed to be filled to prevent moisture from coming up.


So this is how it is looking after all the work on prepping the floor:


We have dry vacuumed it maybe 50 times now and I still think that there is dust and stuff, it just doesn't get cleaner. Plus our tools, paint stuff and flooring material are everywhere. Probably because instead of doing just one project at a time we seem to insist on doing about 20 projects at a time. Ha!

Next up: Finish painting and installing the floor.

Related Posts Plugin for WordPress, Blogger...