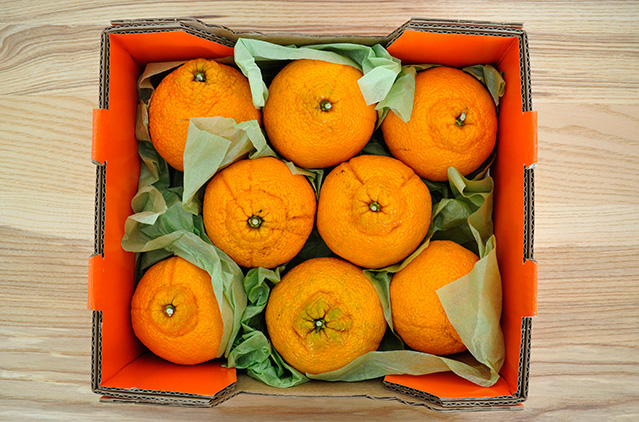
We are not foodies. But Evan came home a few days ago and was all excited about some article he had read about Sumo Oranges (aka Sumo Citrus) and how we NEEDED to get some.
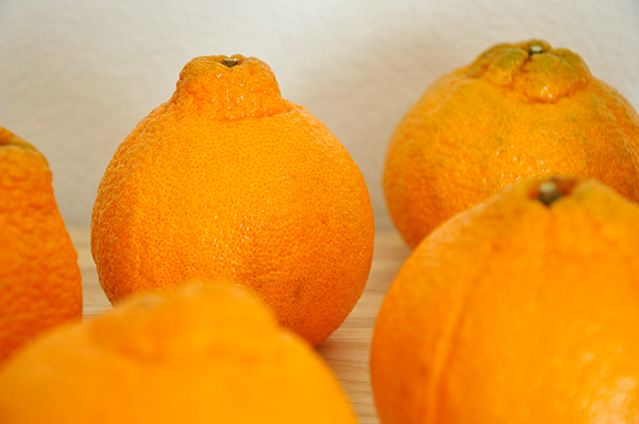
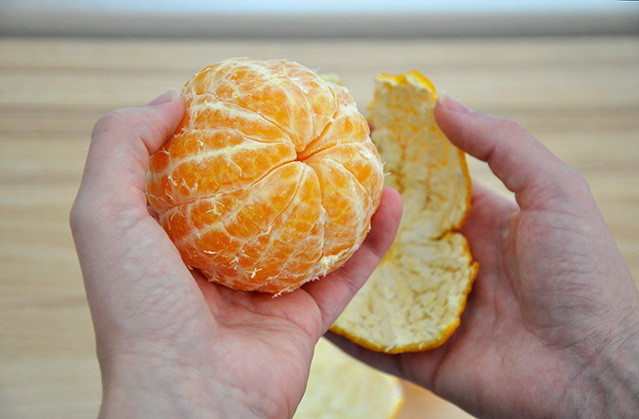
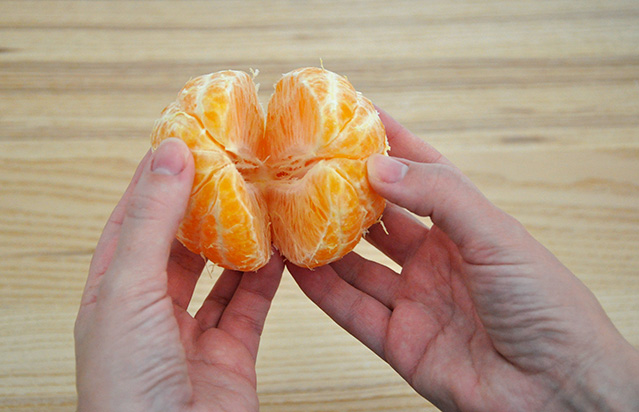
So what is a Sumo Orange you ask? Well basically you know those Cuties/mandarin type of oranges, they are small and peel real easy but you have to eat like five of them to feel satisfied. Well say goodbye to those and hello to the Sumo. The Sumo orange peels really easy just like a mandarin and hardly has any of that white stuff (pith) but is big like a California orange. It doesn't have seeds, is sweet and juicy and big enough to really call it a snack. And as you may have guessed it originated in Japan (known as Dekopon) and someone over here in the US was quietly able to import the seeds and keep it on the down low for 5 years so that they have a monopoly on them until all the other farmers catch up, which will take about 5 or 6 years for others to get fruit bearing trees.
We went out to get some yesterday, and decided to just buy a box of them instead of by the pound. They are pretty fancy, coming in its little crate with a piece of plastic on top and green tissue. (is the green tissue supposed to be like leaves??)
Anyhoo, they are awfully pretty. After oohing over the box for a bit, it was time to get down to it and see what all the fuss is about.
And I must say they are pretty darn yummy!
Since The Bubb is too young to have citrus we just let him hold the orange and put the produce stickers all over his shirt (no they weren't on the oranges, there was a sheet of them included in the box along with a promotional card and story).
I bet Evan wishes now he hadn't told me about them since I've crazily been running around all morning taking pictures of the Sumo so I can blog about it!
2.27.2011
2.25.2011
Happy Sewing = Happy Sewing Machine
When I first started sewing last spring on my mom's old machine, everything about it was just really intimidating. Even right down to the basic stuff, like putting on thread and trying to get that bobbin wedged into the tiny slot under the needle plate. But really you just have to do it a lot. And follow the instruction manual. Soon the machine becomes like your best friend or right hand, sorta like my camera.
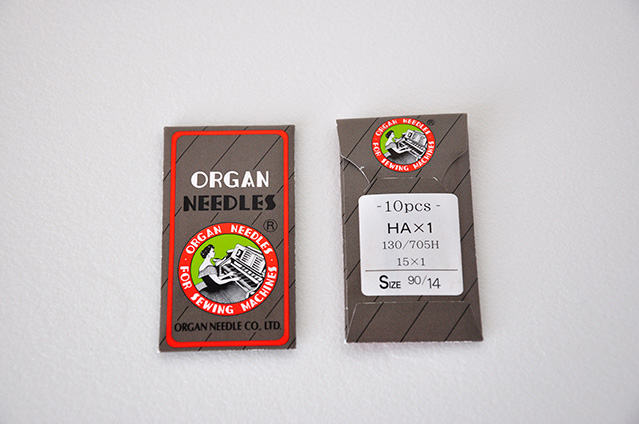
One thing that I wanted to make sure I did when I received a new sewing machine for my birthday last fall was to take uber good care of it. And one of the ways that I do this is to change the needle. Often. I was reading somewhere that you should change your needle every 6 to 8 hours of sewing. And because I am sewing so much right now, I probably go through 2 needles a week! I know crazy, but I have been making tons of cute things for my shop. I used up the needles that came with my machine and then switched to the Singer multipack. And well, honestly I've noticed a difference in my stitches and my machine sounds different. Not different in a bad way just different. Since I am almost done with my multipack I ordered new needles, 100 of them, of the original type that came with the machine, Organ Needles. And today they came.
It really excited me that they came in 10 little packets of 10 needles each and inside they were wrapped in foil, sorta like gum.
I think that I am set now on needles for a while! And my machine is all happy, making for happy sewing. I don't know if your machines have this, but the extension table slides off my machine to make a free arm. Although this feature in itself is super useful, it also has storage inside, so I can store stuff, like the different feet and now needles.
In addition to changing the needles often, I also use my pressurized air can to clean my machine out. I take apart the needle plate and blast air into it spraying out all the dust/lint/strings/etc. It is kinda amazing how much collects over just a few weeks.
Happy Sewing!
2.24.2011
Still Here, Just Pondering Over this Quilt
Hmmm well, I got this fabric a few weeks ago that I was super excited about. Because for once I actually had a plan in mind when I purchased it. I was thinking quilt and I was going to try out free motion quilting to go along with the wave movement in the fabrics. However, after seeing it and laying it out as I had planned it isn't working for me. Just way too busy.
So I tried adding some white. And well it is better. But I still hate it. So I am thinking that I am going to have to cut it apart and try something else....
Hopefully I can get this resolved soon because I feel like it is sucking all of my creativity away! I just need to do some pondering over this for a bit. Wish me luck!
2.21.2011
Happy President's Day
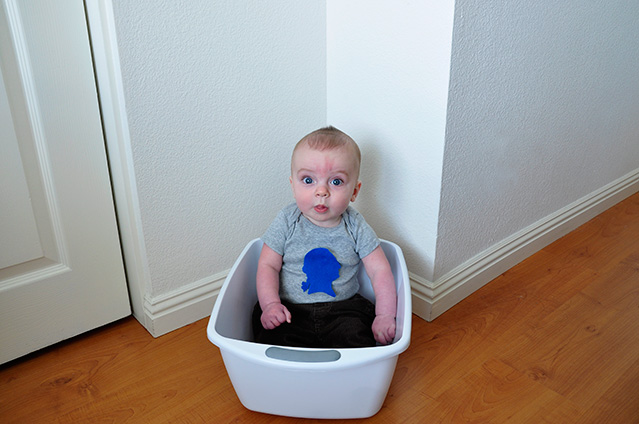
In honor of President's Day I decided to change up Bubbington's Valentine's Day Onesie to be appropriate for today instead. I took an image of President George Washington's head and cut it out of felt. I thought, first President's Day, first president.
Instead of attaching Velcro to the other side of the felt, like what I did for the Valentine onesie, I just put the felt right onto the Velcro, and guess what felt sticks really well to Velcro. So it made this really easy!
And The Bubb seemed to enjoy it too, or perhaps he just liked sitting in the bucket!
2.20.2011
Baby Homemade Oatmeal Cereal
Since The Bubb is almost 6 months old now, we decided to try his first food over the three day weekend. Instead of starting with packaged rice cereal, we opted to make our own food AND start him with something other than rice cereal. Cause to us, rice cereal, yuck! Oatmeal sounded much much better.
I followed the instructions at wholesomebabyfood, but I thought I would share how we made oatmeal cereal.
Ingredients:
1/4 cup oats (or barley, rice)
2 cups water (3/4 cup for optimal thickness, more water = more liquidy)
First I took my grains, in this case oatmeal. (To make rice cereal or barley cereal, the instructions are the same, just different grain). I guess you're supposed to use steel cut oats, but we just got regular rolled oats. Not the quick/instant oats, just the regular. We found ours at Whole Foods, and the whole bag was a whopping 21 cents.
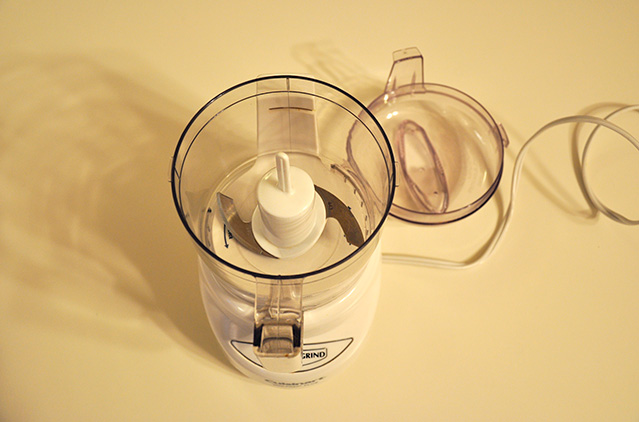
Then I got out our food processor, we have a Cuisinart MiniPrep.
Measured out a 1/4 cup of oats.
Put them in the food processor. And grind grind grind until you get a nice looking oat powder.
Next you boil 2 cups of water. I wanted his "cereal" to be really liquidy as this was his first time. But over the next couple of weeks, I will reduce the water that I put the oats in down to 3/4 cup. More water = more liquid and less pasty. Boil the water, then add the oat powder, while whisking constantly. Reduce your heat down to a simmer after adding the powder, and keep whisking. I whisked for 15 mins until I was satisfied with the consistency. Anywhere between 10-20 mins I think would be fine.
Once done, you have a lot of liquid oatmeal cereal. I measured out 2 ounces of breastmilk and 2 ounces of liquid oatmeal cereal and put it into a little plastic tupperware. (Side note, Evan has given me such crap for buying these little containers that I thought were cute. But look at how useful they are now!!)
Then we found ourselves one hungry Bubb.
Got him in his highchair. This was the first time putting the tray on it while he was in it. He really wasn't too sure about the tray.
And then we fed him. It actually went way smoother than I thought! Of course, next time will probably be a whole new adventure :)
After he finished his oatmeal cereal, we finished it off with a bottle of milk. The Bubb seemed pretty content with his meal.
To store the left over liquid oatmeal cereal I put 2 ounces of the liquid cereal in each tupperware. That way all I have to do is thaw them and add the milk when we get ready to feed him next. I opted for freezing rather than refrigerating them just to make sure they don't get contaminated, and in the future I will probably be making more at once.
Update - So I know that this looks really watery, but over the next few months I slowly add more oats and less water and pretty soon it looks exactly like regular oatmeal. I add a half a banana to his oatmeal and mix it together and he LOVES it. I make a whole bunch at once and then freeze/refrigerate so I don't have to make it every morning (although I should probably be eating it too!) We have it every morning for breakfast - and my plan is to do this until he won't take it anymore. Oh also, I switched away from making my own and now use organic instant oatmeal instead :)
Subscribe to:
Posts (Atom)


