

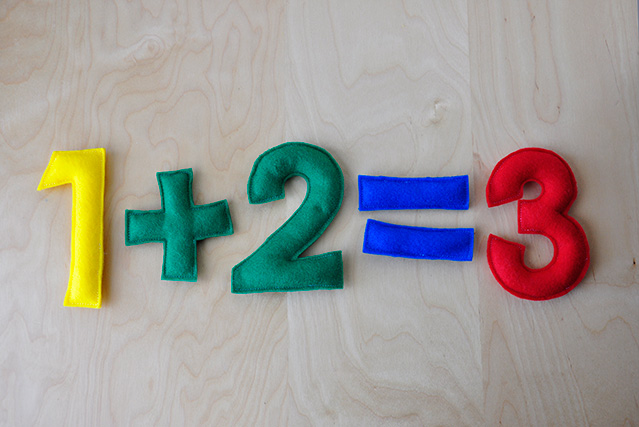
Okay so I know that The Bubb is a little on the young side to be learning to count. But when I made this felt seven for his 7 months old post, I just couldn't stop thinking about it and decided to make a whole bunch (but on a smaller scale). Cause well why not?


Felt numbers are really easy and cheap to make and hopefully they'll get a lot of use at some point.
Supplies Needed

1 Colored felt. I used maybe a 1/4 yard of a variety of felt colors. This is a great way to use up scrap felt you have on hand!
2 Polyfill or something to stuff them with. I would think beans of some sort would work if you want them to be heavier (in case you want to toss them)
*I also found a chopstick really helpful to stuff them
Okay lets get started!

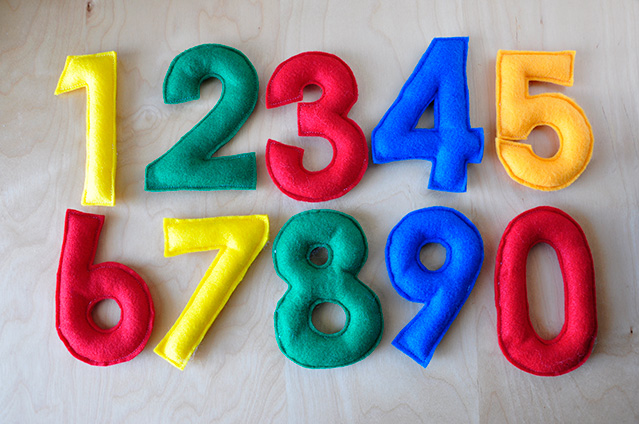
Step 1 Type numbers in a word document and then print them out. I used Century Gothic size 500 but the size and font is entirely up to you! You can also just sketch out your own numbers too. In order to save ink, etc. I made the numbers into an outline before printing. The numbers I did were 0-9 plus a +, -, = and / just to make it complete!

Step 2 Cut those numbers out.

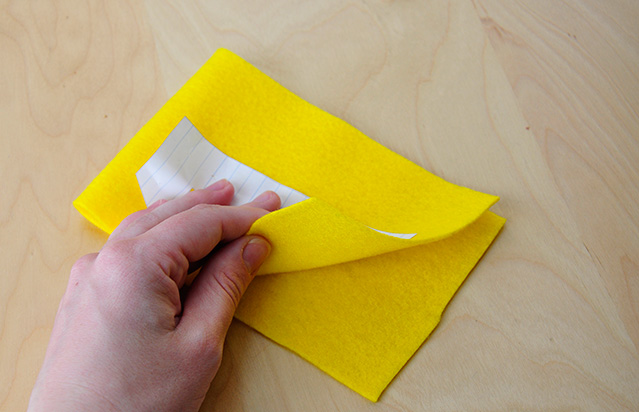
Step 3 Put the number onto the felt to see how big a piece of felt you'll need, then double it. Cut out that piece of felt. Then fold the felt in half and place the number on top.
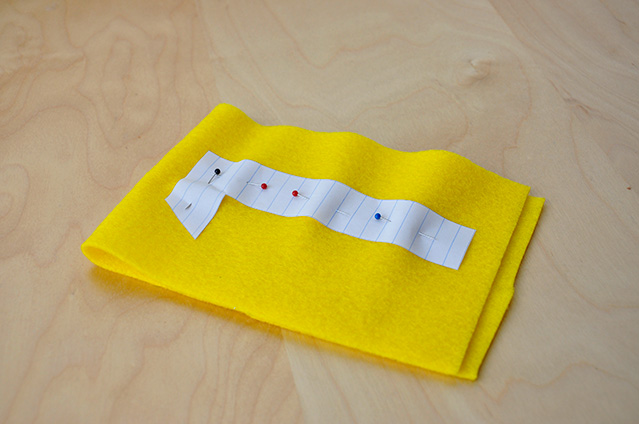
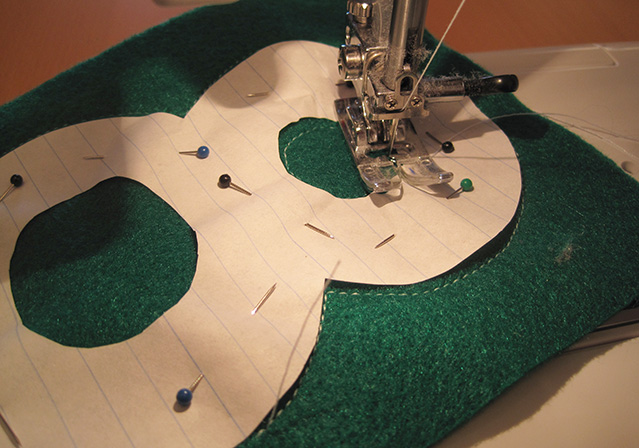
Step 4 Pin the number to the felt. (you could also trace them with chalk/disappearing ink, but for me these tools always waste a lot of my time and this seemed just as easy)

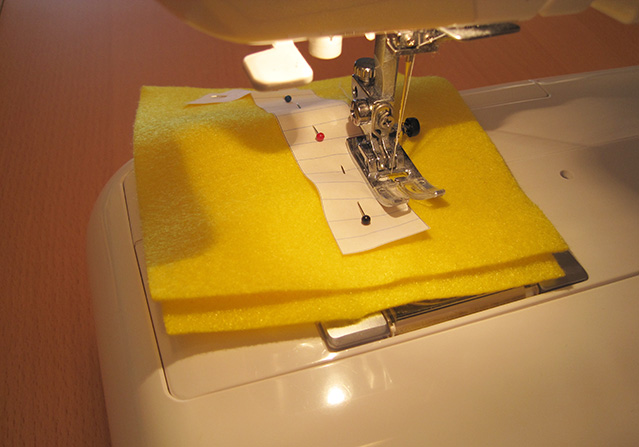
Step 5 Sew around the number on your sewing machine but make sure to leave a finger sized hole. If you wanted flat felt numbers (i.e. no filling), don't leave a hole, just stitch all the way around. If you are sewing the 8, 6, 9 and sometimes 4, go ahead and stitch around the "circles" inside those numbers.

Step 6 Remove the paper number and pins and cut out the felt number. I left about a 1/8" of felt on the outside of the stitching. Also leave some felt around where the hole you left is. It makes it so much easier when stuffing and when sewing that hole closed later on. Cut out the "circles" in the 8, 6, 9 and 4 as well.


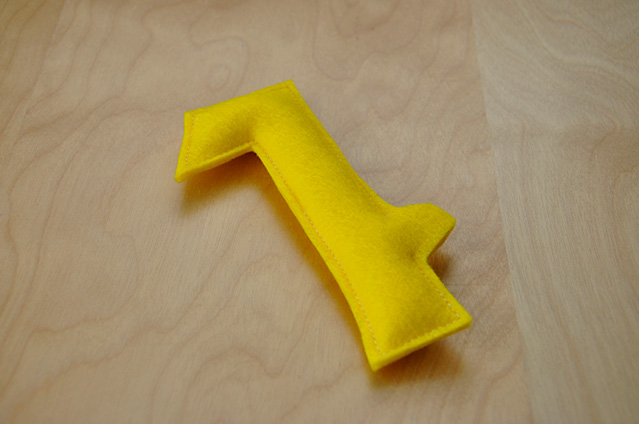
Step 7 Stuff your number with your filling of choice. I used Polyfill. There are tons of options out there. You could also use some sort of beans to make them heavier. I found a chopstick to be very useful to help get the stuffing all the way around in the numbers. You can stuff them as little or as much as you want, it is entirely up to you. I think I overstuffed mine a bit, but they still look okay to me!

Step 8 Stitch up the hole.


Step 9 Cut off that tail flap of felt.
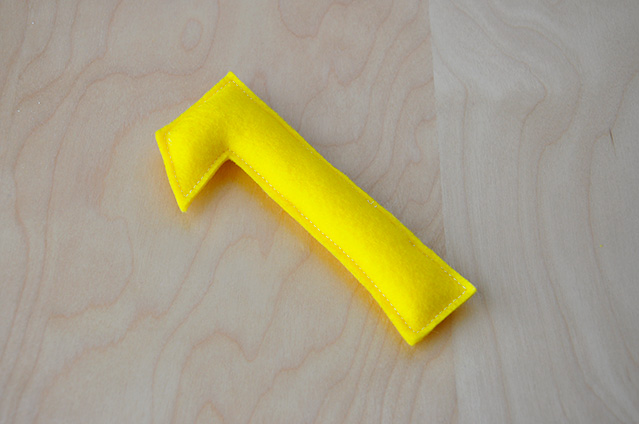
and you're done! Admire you newly created felt numbers.

If you wanted to make a felt alphabet obviously the steps would be the same, but I'll do that some other time! I tried them out on The Bubb. He didn't like them quite as much as the felt gingerbread men but still seemed entertained.


I've put this into the Tutorials in case you want to find it at a later point. Hope everyone is having a good weekend and happy felt making!
so fun! however as i was going through your steps i kept thinking what a pain it must have been to turn all those numbers inside out after you'd stitched around them! ha! it didn't dawn on me until the end how completely unnecessary that would be thanks to felt! you're so smart! :)
ReplyDeletemeg
LOVE this tutorial...thanks! I love how you just sewed around the number and then cut them out - genius!
ReplyDeleteThis is a great idea! I'm working with my granddaughter on number recognition. This will make a fun game for that. Thanks for sharing.
ReplyDeleteGreat tutorial, i love it very much, thanks for sharing
ReplyDeleteWhat a fab idea! I've got so much left over felt i'll be doing this =)
ReplyDeleteAgreed that you have great ideas and smart ways to get them done!
ReplyDelete