
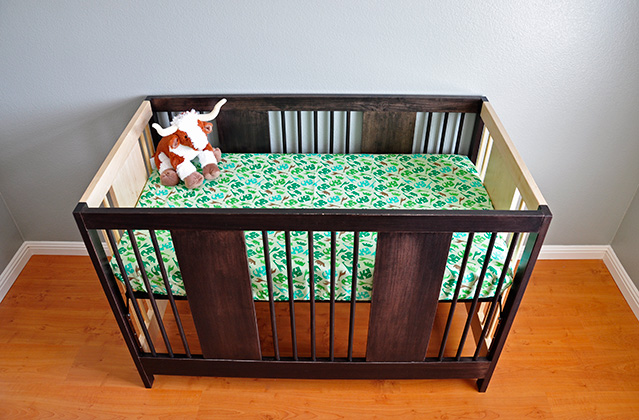
My crib mattress is 28 x 52 x 5 inches. All mattresses are this size, except maybe the depth (5 inches) might vary slightly. To create a sheet for this mattress size I used one piece of fabric that was 67 x 43 inches.
How did I calculate this?? Well first measure the length, width, and depth of your mattress. Then add 1 inch to your length and width (for corner seam allowance, assuming 1/2 inch) So 28 +1 and 52+1, giving 29 and 53 inches. Next add the mattress depth to these measurements: 29+10 (5+5) and 53+10 (5+5) for a total of 39 inches and 63 inches. You need to add in corner seam allowance this way as well (assuming 1/2 inch again). So 40 and 64. Now you need to add in the elastic casing seam allowance, which is 1 inch if using a serger, if not using a serger add in 1 1/2 or 1.25 (to fold the edge over so it doesn't fray). Hopefully you're not confused, I know I am! You had 40 x 64 plus these seam allowances is 40+1+1 and 64 +1+1 (or if not using a serger 40+1.5+1.5 and 64+1.5+1.5) giving total yardage needed of 42 x 66. I added 1 inch to each measurement to make sure the crib sheet would fold under the mattress and mattress pad when finished and that is how I came to 43 x 67 inches!
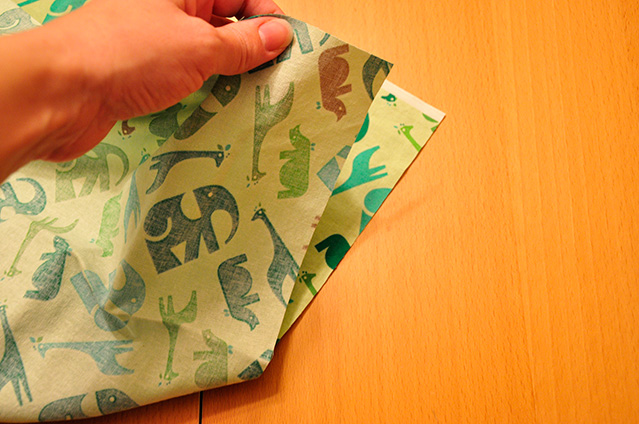
Getting the 67 inches is easy, buy 2 yards. But getting the 43 inch width is harder, but you can find it or do what I did. -- My 43 inches was really 42 inches plus the selvedge. Yes usually I always cut this off, but I wanted it to be 43 inches, so I left it on. Luckily on this fabric, the selvedge wasn't very wide, so it gets hidden in the elastic casing.

Now that you have your measurements and your fabric, you only need one other thing, elastic. I used 77 inches of knit 3/8 elastic. I cut 80 inches and then tried it on the mattress before stitching it closed, I would recommend this to make sure it fits on your mattress the way you want it to.
Supply list:
1 Fabric measuring 67 x 43 inches
2 80 inches of 3/8 knit elastic and a safety pin
Step 1 Wash, iron, and cut your fabric to 67 x 43 inches (unless you've figured out you need a different length :) see paragraph above about figuring out measurements)

Step 2 Cut 7" squares from each corner. You can do them one at a time, or fold your fabric in quarters and cut all at once. **If you are using a different size piece of fabric, most likely you will need to cut something other than 7" each. To figure this out: Take the width of your mattress, 28" add 1", so 29" then subtract this from the total width of fabric (in this case 43") 43-29 is 14. Divide this by 2. You get 7". I know this can be confusing. Another way to look at it -- basically you need to create the width of the mattress with two corners on each side, so you need 28 inches, plus 1 inch seam allowance (from the corners) to be left in the middle after you make your cuts. To get the corner width, add the depth of your mattress, 5 inches, plus 1 inch for the elastic casing, plus 1 inch to go under the mattress. So 7 inches. Your width is 29 + 7 + 7 = 43 inches**

Now you should be left with this:
A piece of fabric 43 inches by 67 inches with 4 inverted corners measuring 7 inches by 7 inches.
Step 3 Take one side of the 7 inch corner and match it to the other side of the 7 inch corner, right sides together and pin in place. Do this for the other 3 corners as well.

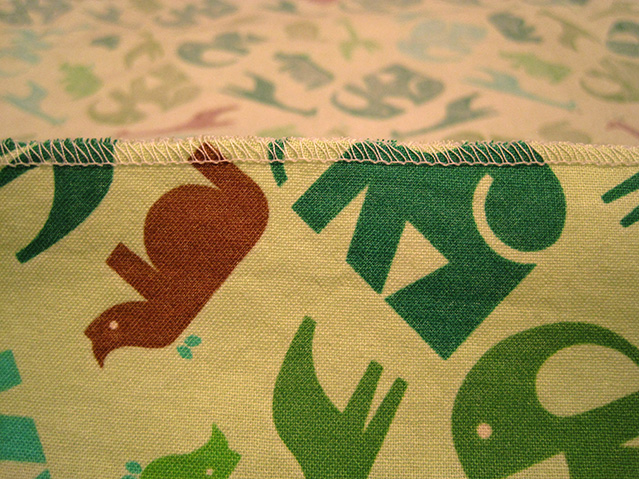
Step 4 Sew together, 1/2 seam allowance. You can also serge the edges if you like to prevent fraying (or zigzag)

You should now have 4 of these wonderful corners!

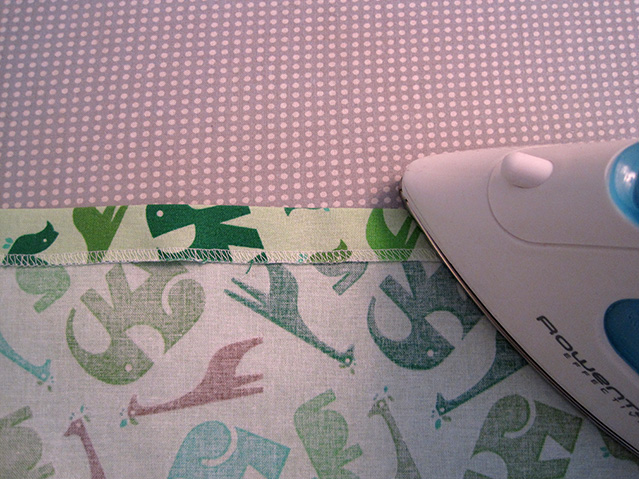
Step 5 Iron the seams open.

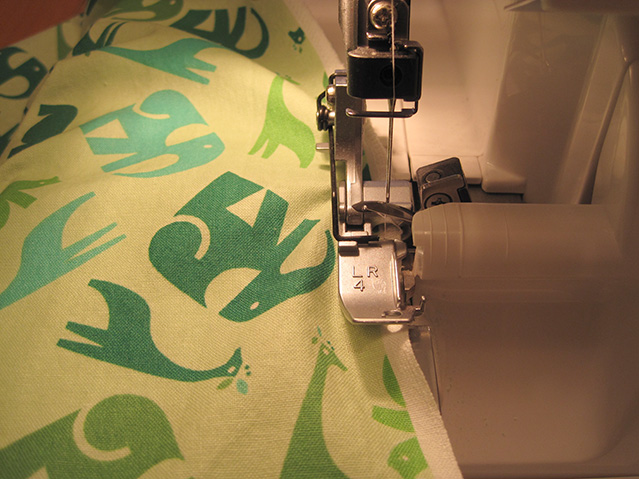
Step 6 Create your elastic casing. In my case I serged around the entire outside and then folded in down 2/3 of an inch. If you don't have a serger, fold the edge over 1/4 inch to 1/2 inch then fold over again 2/3 inch. I didn't do exactly 2/3 as I just eyed it with my iron as I was going around. **I know I allowed for 1 inch in my original measurements, but I didn't actually do that, I did 2/3 inch instead.
Step 7 Pin a stop and start point. You can pin the whole thing if you'd like, but it is a long way around and well I didn't see the need. I also chose to add my label.

Step 8 Sew down the casing, remembering to leave a hole for your elastic, hence the start stop pins.

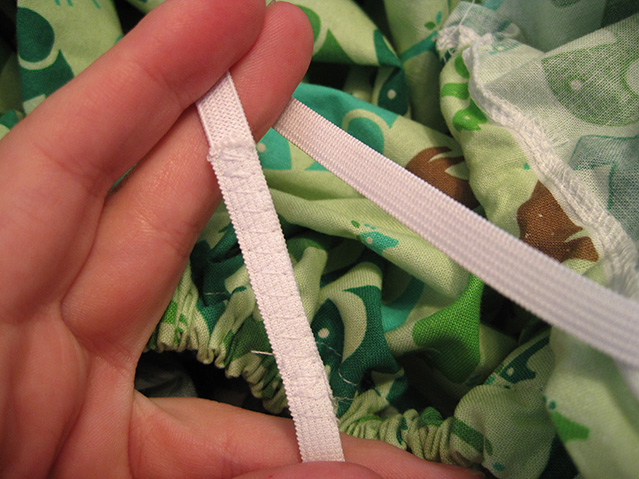
Step 9 Cut your 3/8 inch elastic to 80 inches long. I would recommend starting with 80 inches and then trying it on your mattress, and then cut the extra off to the desired tightness. Pin a safety pin to one end and insert it in the hole you left in the casing. Don't forget to pin the other end to something as well!

Step 10 Pull out the elastic from the other side and go try it on your mattress. Then cut to desired length and zigzag stitch the two ends together.


Step 11 Tuck the elastic back inside the casing and sew down the hole.


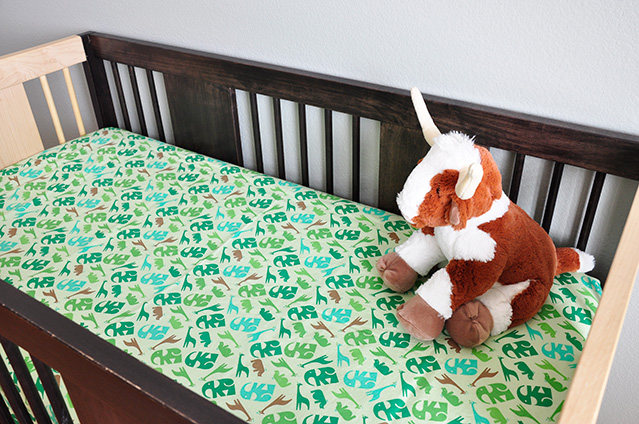
And you're all done! Go try it on!!


Tips I found that it was better after I washed it, the elastic gets evenly distributed. Making it a little bigger is better than making it too small, at least you can always take it in or tighten the elastic!
You can also find this in tutorials.
Thanks!! This is fantastic and very easy to understand. I'm excited to make some cute sheets!
ReplyDeleteCant wait to try this out!
ReplyDeletei plan on using some old queen size sheets and some i found in a second hand shop!
thanks :)
Gonna use my brothers old sheets i ended up with to make new sheets for my son. Thanks!
ReplyDelete