4.09.2011

Tutorial: Felt Numbers


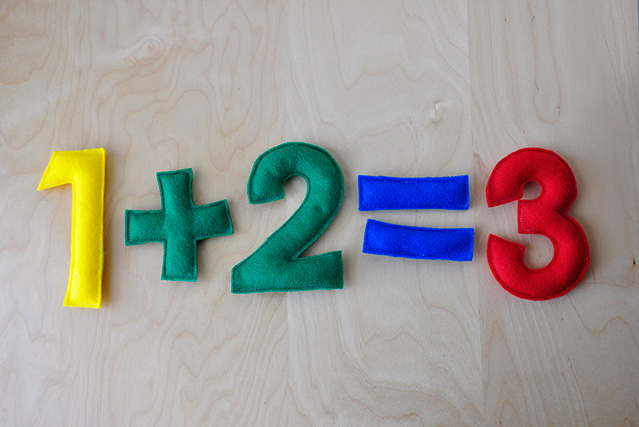
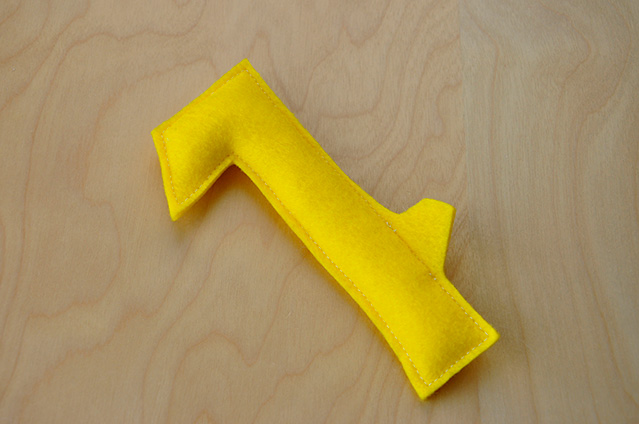
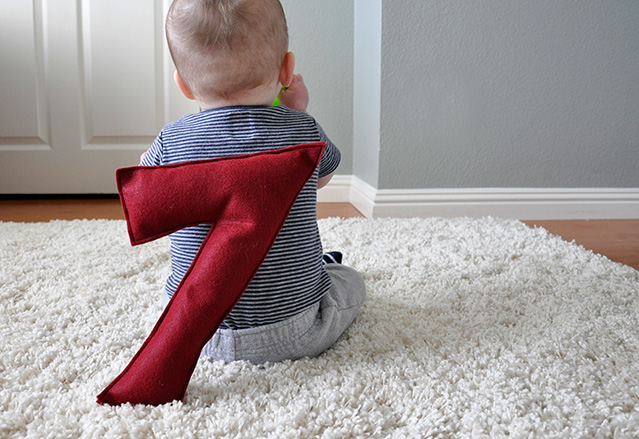
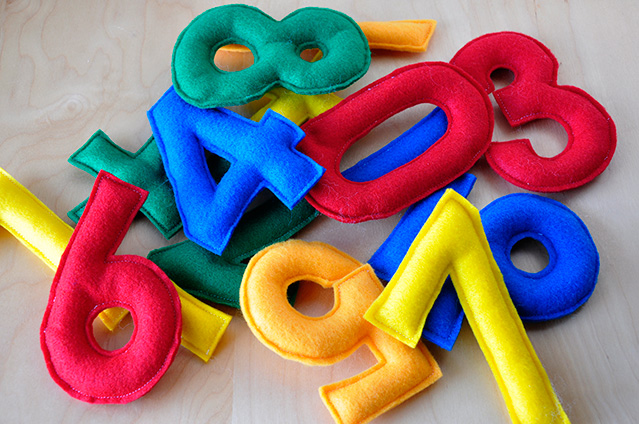
Okay so I know that The Bubb is a little on the young side to be learning to count. But when I made this felt seven for his 7 months old post, I just couldn't stop thinking about it and decided to make a whole bunch (but on a smaller scale). Cause well why not?
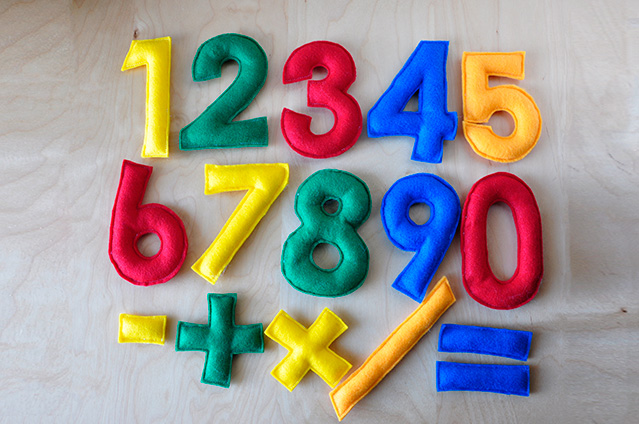


Felt numbers are really easy and cheap to make and hopefully they'll get a lot of use at some point.

Supplies Needed
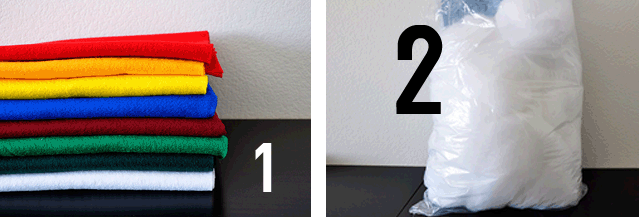


1 Colored felt. I used maybe a 1/4 yard of a variety of felt colors. This is a great way to use up scrap felt you have on hand!
2 Polyfill or something to stuff them with. I would think beans of some sort would work if you want them to be heavier (in case you want to toss them)
*I also found a chopstick really helpful to stuff them

Okay lets get started!

  
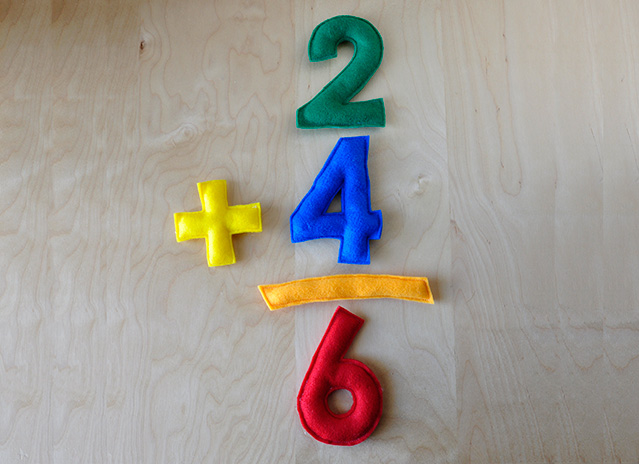
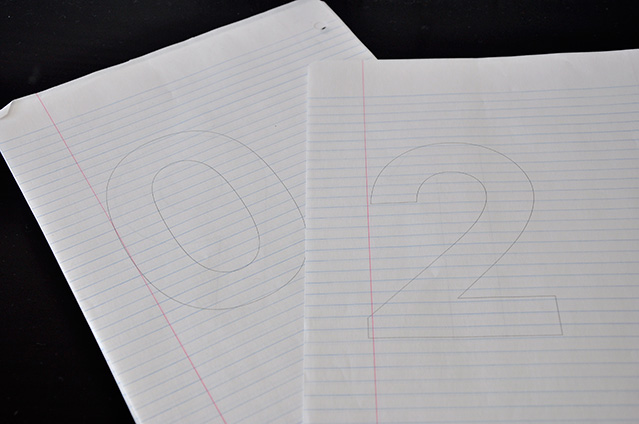
Step 1 Type numbers in a word document and then print them out. I used Century Gothic size 500 but the size and font is entirely up to you! You can also just sketch out your own numbers too.  In order to save ink, etc. I  made the numbers into an outline before printing. The numbers I did were 0-9 plus a +, -, = and / just to make it complete!

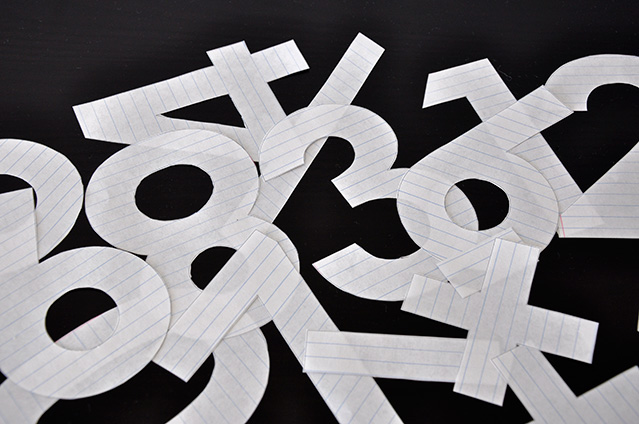
Step 2 Cut those numbers out.

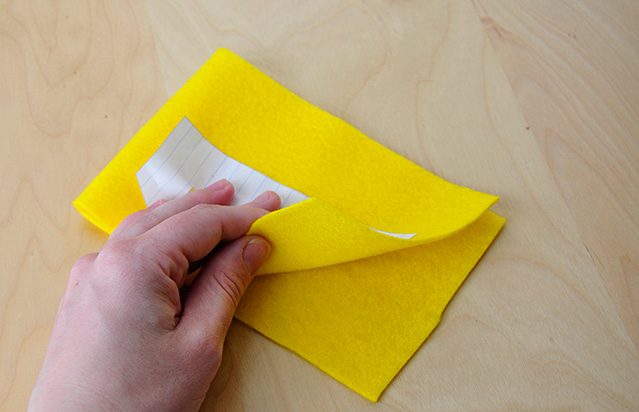
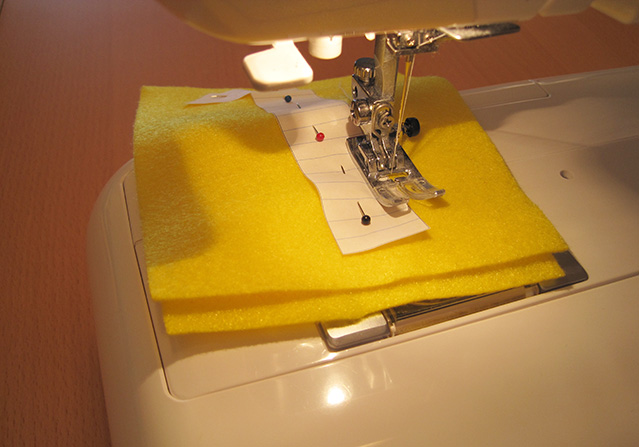
Step 3 Put the number onto the felt to see how big a piece of felt you'll need, then double it. Cut out that piece of felt. Then fold the felt in half and place the number on top.

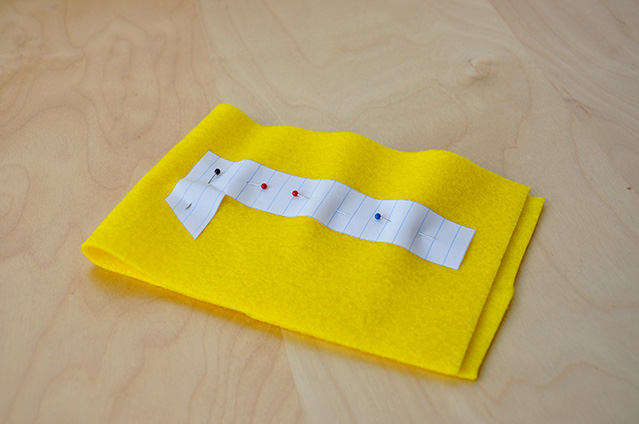
Step 4 Pin the number to the felt. (you could also trace them with chalk/disappearing ink, but for me these tools always waste a lot of my time and this seemed just as easy)


Step 5 Sew around the number on your sewing machine but make sure to leave a finger sized hole. If you wanted flat felt numbers (i.e. no filling), don't leave a hole, just stitch all the way around. If you are sewing the 8, 6, 9 and sometimes 4, go ahead and stitch around the "circles" inside those numbers.
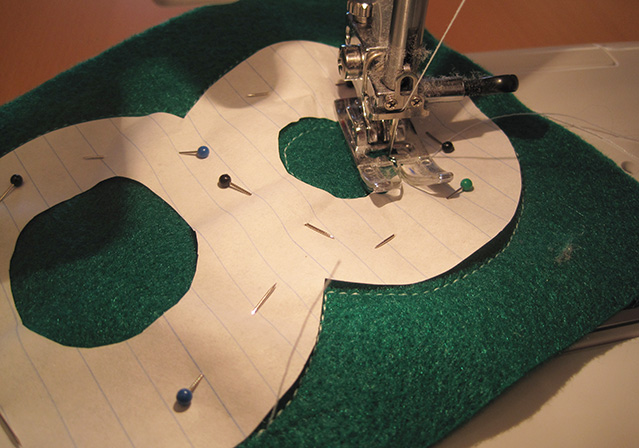
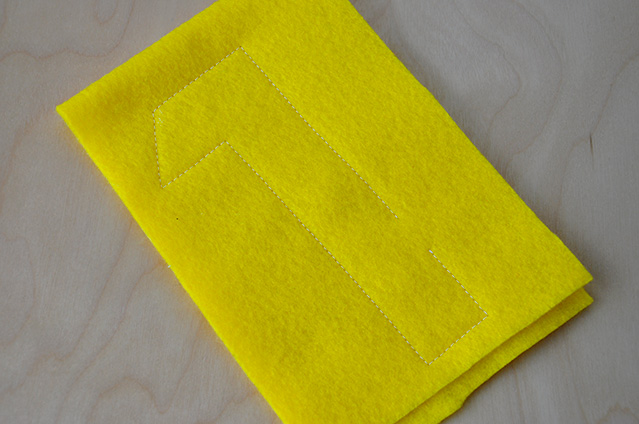

Step 6 Remove the paper number and pins and cut out the felt number. I left about a 1/8" of felt on the outside of the stitching. Also leave some felt around where the hole you left is. It makes it so much easier when stuffing and when sewing that hole closed later on. Cut out the "circles" in the 8, 6, 9 and 4 as well.
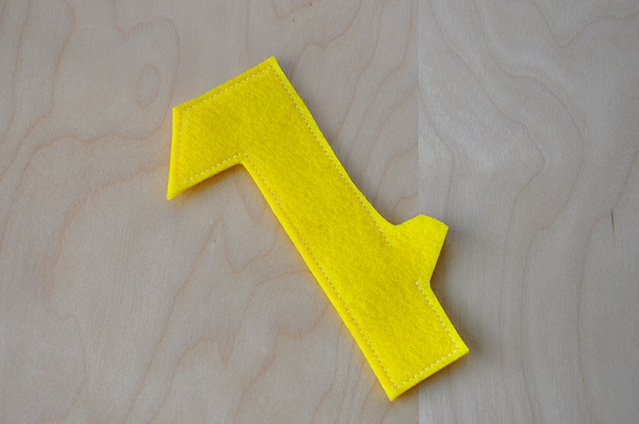
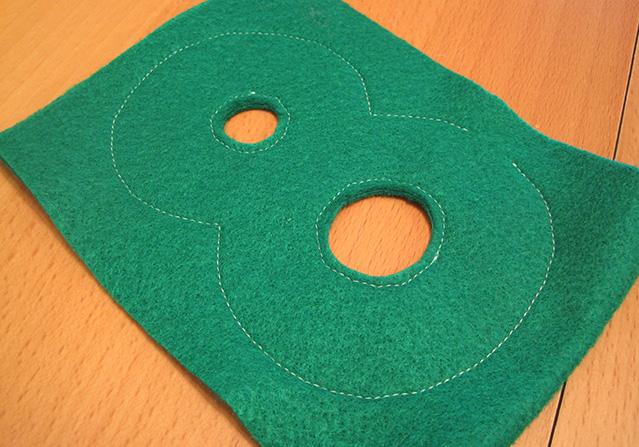

Step 7 Stuff your number with your filling of choice. I used Polyfill. There are tons of options out there. You could also use some sort of beans to make them heavier. I found a chopstick to be very useful to help get the stuffing all the way around in the numbers. You can stuff them as little or as much as you want, it is entirely up to you. I think I overstuffed mine a bit, but they still look okay to me!

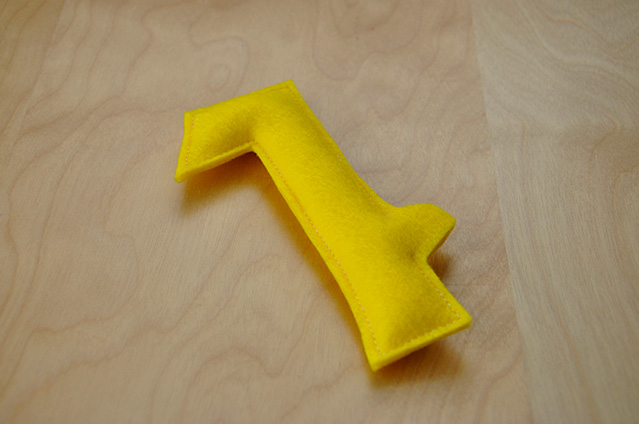

Step 8 Stitch up the hole.
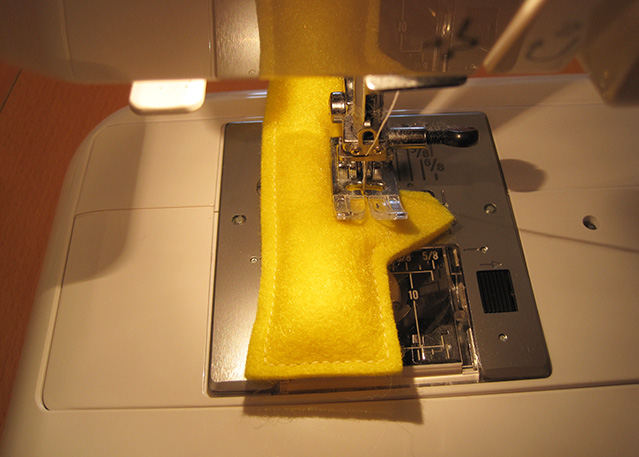


Step 9 Cut off that tail flap of felt.
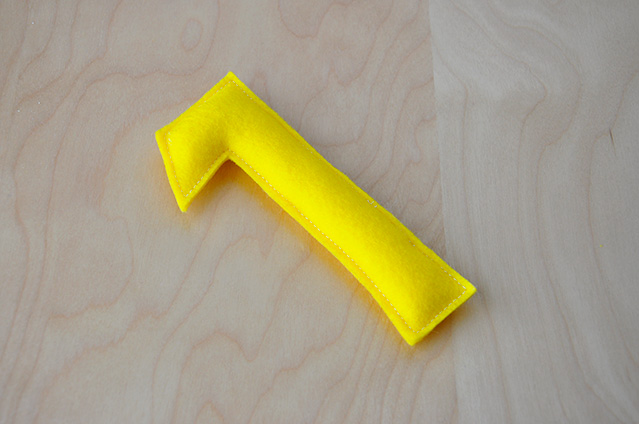

and you're done! Admire you newly created felt numbers.
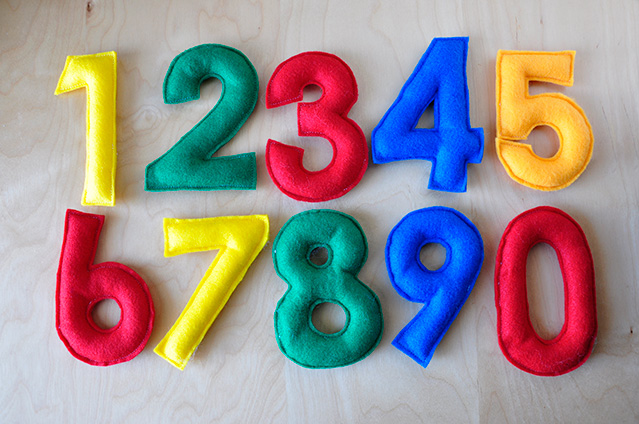


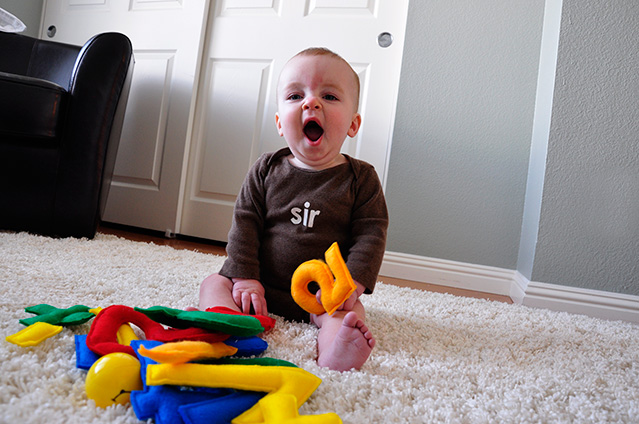
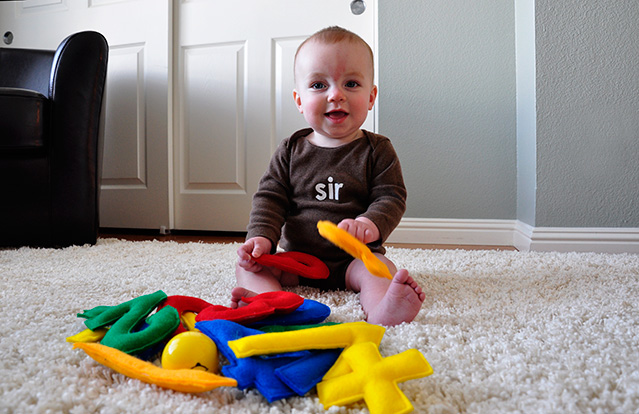
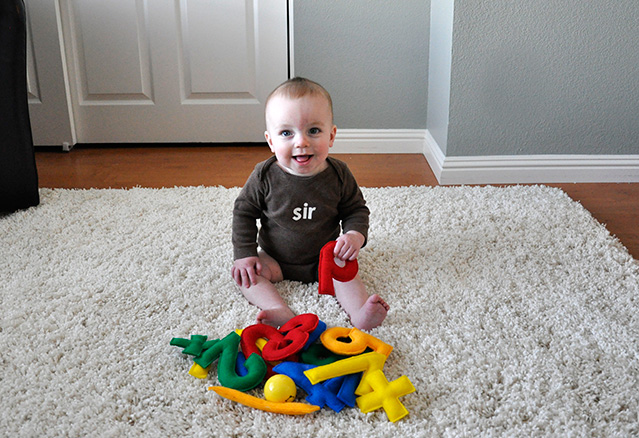
If you wanted to make a felt alphabet obviously the steps would be the same, but I'll do that some other time! I tried them out on The Bubb. He didn't like them quite as much as the felt gingerbread men but still seemed entertained. 


I've put this into the Tutorials in case you want to find it at a later point. Hope everyone is having a good weekend and happy felt making!

4.06.2011

Aviary Fabric


Maybe you've noticed by now that I LOVE to get things in the mail, especially if it is fabric. Just makes my day, you know? So today some fabric came and in it was this fabulous fat quarter set by Joel Dewberry called Aviary 2. The collection actually comes in three different color schemes but the one I chose was the Lilac Palette, cause well I am partial to plum colored anything. I had originally thought that the dark plum bird fabric would be my favorite but now seeing them it is really hard to pick!


I had originally planned to make some sort of patchwork quilt but I think that they would also make great pillows! (which means I would need to order bigger pieces of some of the prints, unless I backed them with a plain colored Kona). Hmmm decisions, decisions...

4.05.2011

7 Months Old


It is hard to believe that The Bubb is seven months old already! For those interested, he is weighing 17 pounds but this is us weighing him on our bathroom scale. I really want to put him in the produce scale at the grocery store but I have a feeling that this would be frowned on! Anyway off topic, he is 27 inches tallish and his head is 18 inches round.

The Bubb loves giggling, smiling and babbling. He can sit pretty well on his own now and likes to fall forward into the crawl position, and then collapse. Of course this is followed by tons and tons of kicking/pretend crawling, if only he could lift his heavy little belly off the ground. He can get himself into the crawl position really easily and has moved his knees/hands forward once or twice now, but I think that was probably a fluke.


He still loves to watch fish and really likes to look at birds flying around at the park. As always he is very interested in what we are doing, especially when we are eating and drinking. He is really good eater. He eats two non-milk meals a day now (followed with mik) and two additional milk feeds. So far Emmett is eating oatmeal with cinnamon, bananas, avocado, mango, yams, and carrots. He has also tasted my Forest Berry yogurt a few times and loves it, so I think we might get him some plain yogurt at the store next weekend.

He is still an excellent sleeper. He gives me two 1.5-2 hours naps during the day followed by a late afternoon powernap (30 mins to an hour) and still gives us a wonderful 12 hours of sleep every night. As you can tell we love the Bubbasaur very much and his smiles just make everything better in the world.

4.03.2011

Upcycled Baby Blanket


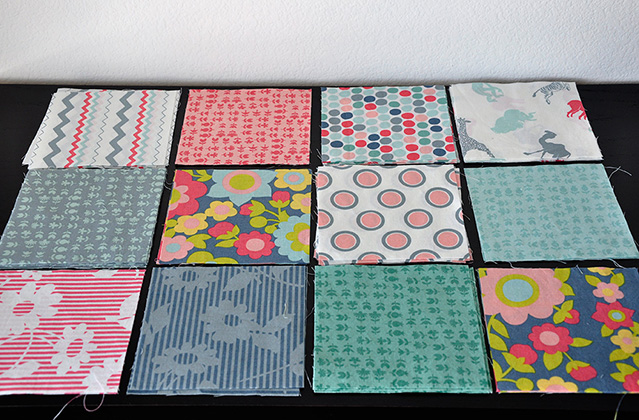
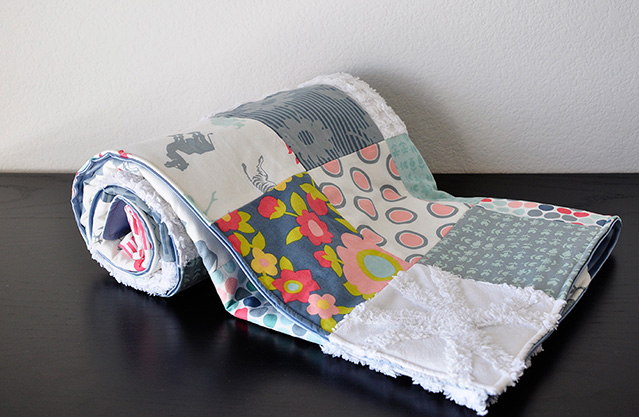
I got asked to make a custom baby blanket and the idea was so awesome that I thought I would share it! It turned out so fabulous. The idea? Make a patchwork blanket backed with a bridesmaid dress. Totally cool and unique. The dress and a well used chenille blanket were mailed to me and I added some squares from the Hullabaloo collection by Urban Chicks for Moda and created this beautiful patchwork baby blanket.


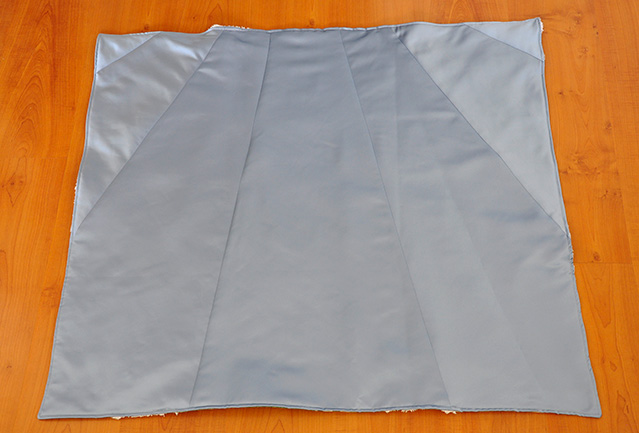
Because the dress had seams on it, obviously, I cut it so it would resemble sort of sun rays on the back, I just love the little detail so you can see that it was obviously a dress or skirt at some point! I cut squares from the chenille blanket that would create unique textured pattern and pieced them together with the Hullabaloo fabric.


Since we wanted this blanket to be modern, it was decided that ties were really not appropriate, but we still wanted to use batting but keep the batting in place when it is washed. The solution was to stitch in the ditch to attach the batting to the patchwork and then attach the back of the blanket to the patchwork, flip and then top stitch.


I love the weight of the blanket and how different looking it is from other baby blankets! It is definitely my favorite piece that I have made for someone. And the mom I was making it for is just such a cool and fun person and I am so glad that Etsy was able to introduce us. It was such an awesome experience!


Now I am having thoughts to make a quilt out of my wedding dresses, with plum, black, white and cream colored Kona. We'll see if I get there!

4.01.2011

The Lovey


Don't know what a lovey is, well neither did I until I started browsing on Etsy. It is just a cute name for a tiny blanket that you give to your kid to cuddle with...for naps, the car, etc. Sometimes mom or dad even sleep with it so that they smell like them.


I needed to practice "stitching in the ditch" for something I am working on and decided that this was the perfect opportunity to make The Bubb a lovey.


I used Dan Stiles Marine fabric (you know from the quilt that never happened) for the front, back, and the loops. I also inserted a piece of organic batting (this is where I practiced stitching in the ditch, as I only attached the batting to one side). I washed it a couple of times and the batting didn't move and there weren't any seams on the back, so mission accomplished!


The entire thing is organic with natural dyes so I really don't mind that The Bubb tries to eat it all the time. I added loops on two of the sides in order to attach it to the stroller or car seat at a later point, in hopes that it might keep it from not falling on the ground so much (ha!) I just love the submarines, whales, jellyfish and am so glad I finally found a use for this fabric!


Related Posts Plugin for WordPress, Blogger...