8.12.2011

Fabric Friday


Yeah so somehow I ended up missing last Friday, oh well! But I am so excited about this new bundle of fabric that I got in the mail a couple of days ago (don't even get me started on how the post man stuffed, and I mean stuffed, them into the mailbox. So annoyed...anyway I should stay on topic).


These fabrics are by Daiwabo and are from the Tiny Tip Top collection. I got them in canvas weight so that I could make either bags or pillows. I've actually made a pillow out of the lime green one before, you can find it here. They do print it in cotton quilt weight too I believe.

I just love the bright colors and of course the elephants are super cute. I also love how you could make something with the colors reversed as well.


I just need more time to sew! 


I hope everyone has a great weekend! And on a side note, the general sillyness around our place has involved hiding in the pillows, flopping on the pillows, rolling around on the pillows. He just can't get enough :)


8.08.2011

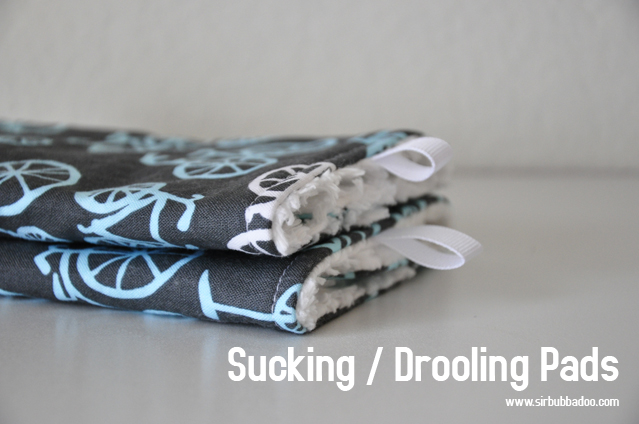
Tutorial: Drooling Pads for Carriers or Car Seat Straps


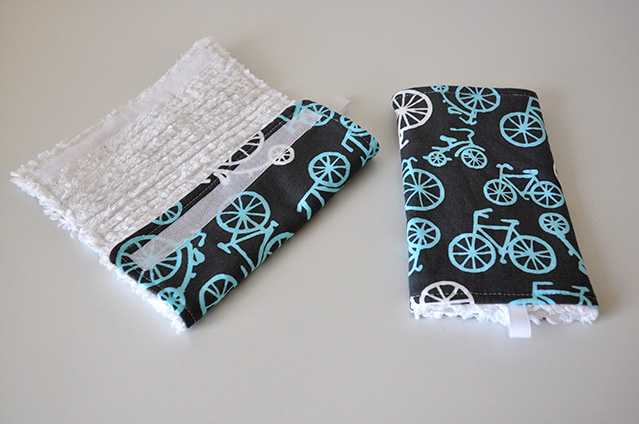
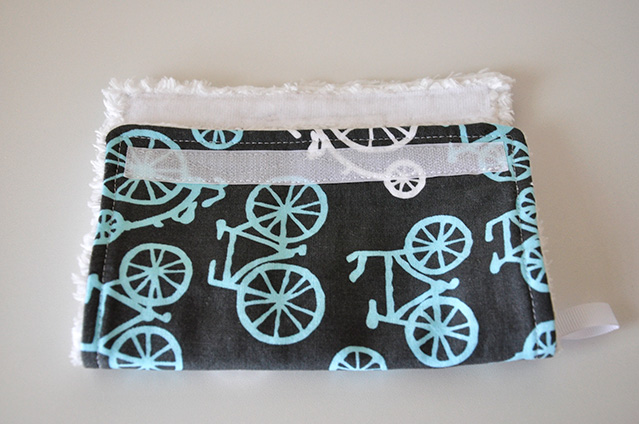
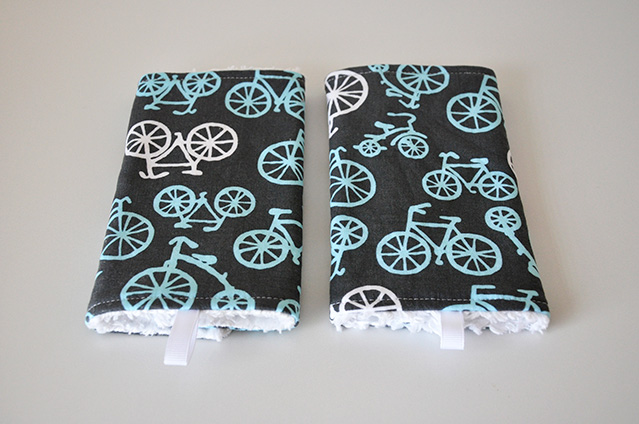
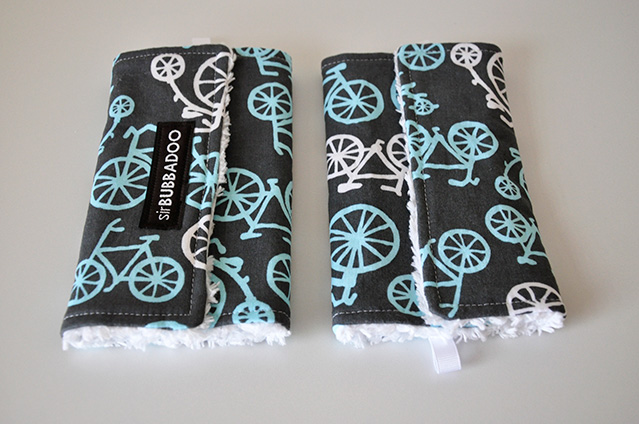
I got asked to make some drooling pads / sucking pads for an Ergo carrier a few days ago and after a bit of research I went for it. I am pretty excited by how they turned out and wanted to share how they were made. It was fairly simple so if you need some place for your baby to drool that you can wash easily and change up frequently, then this could make your life a lot easier :)   (I would imagine they would easily fit on car seat straps too)


Obviously adjusting the size is fairly easy to do but this is how I made my pair.

Supplies Needed:


1 Material
- 7.25 inches x 10 inches (x2) pieces of fabric
- 8.25 x 11 inches (x 2) pieces of backing, could be chenille, sherpa, terry cloth, anything that you want to absorb and pad.
- 7.25 inches x 10 inches (x2) of flannel. Could use cotton batting, or leave out, depends on how thick/absorbent you want.
2 Other
- 12" Velcro. Could probably easily use snaps too
- 7 inches of ribbon. This makes 2 loops, obviously you could have no loops or 20.

I used chenille, flannel, and Velcro to make my pair.


Now that you've got your supplies figured out lets get started.

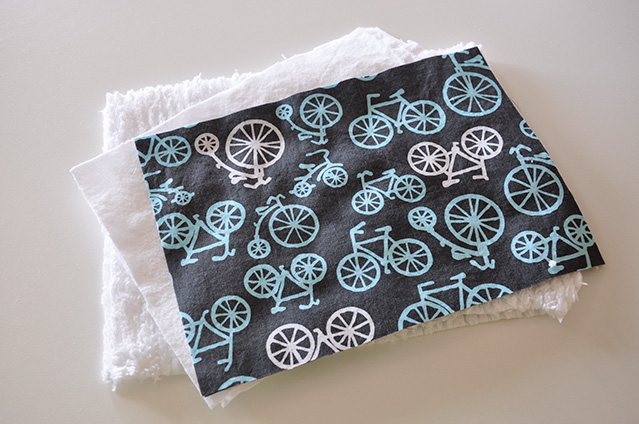
Step 1 Cut your pieces of fabric and flannel to be 7.25 x 10 inches. They wrap horizontal, so take that into consideration when cutting your print if you wanted it oriented a particular direction. Cut your chenille to be about 8 x 11ish.


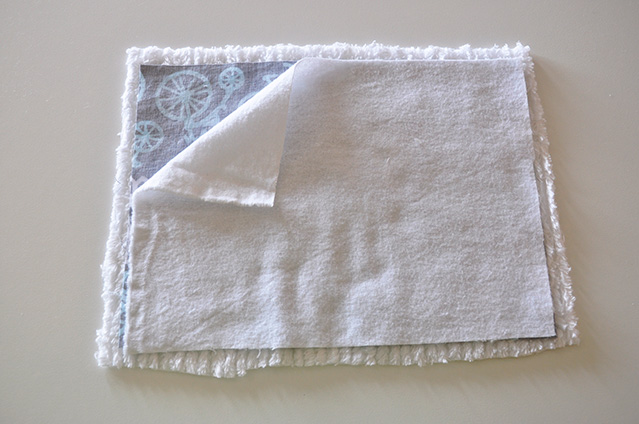
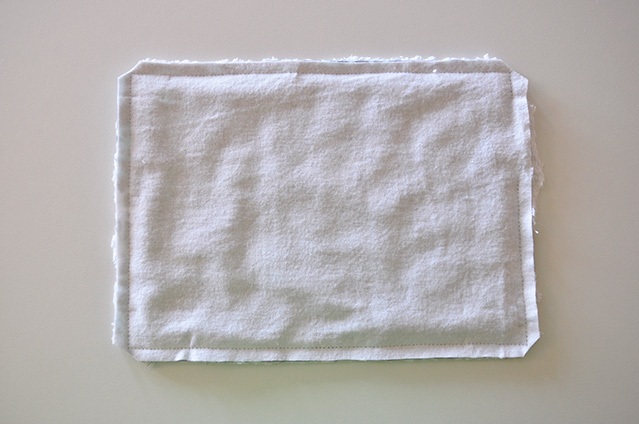
Step 2 Layer them so that the chenille is facing up, the fabric is right side down and the flannel is on top of the bikes, creating a 3 layer sandwich.


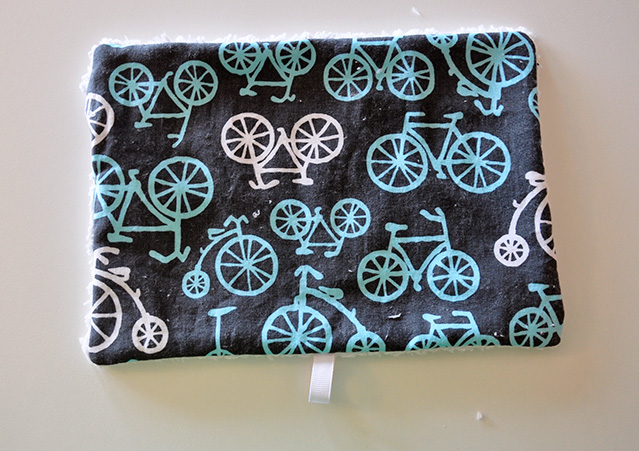
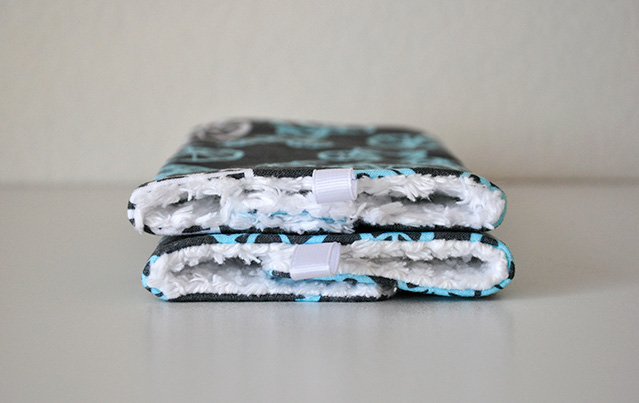
Step 3 Cut half your ribbon, about 3.5 inches or so. Depends on how long you want your loops to be, how many, etc. Then center it horizontally, so at about 5 inches. Put the loop part inside the sandwich between the chenille and bike layers. The ends of the ribbon should be sticking out. Pin in place - I actually pinned it to the bike fabric inside my sandwich.


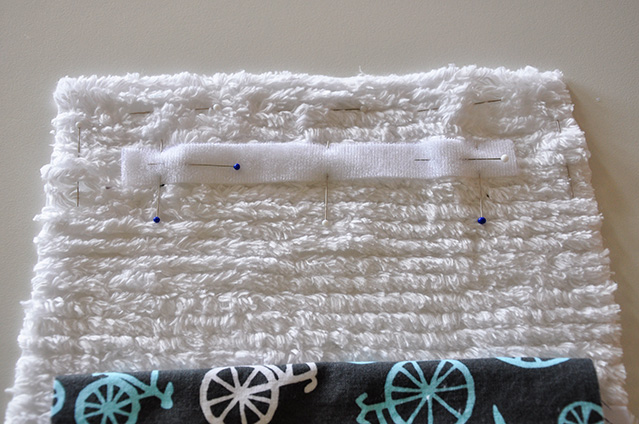
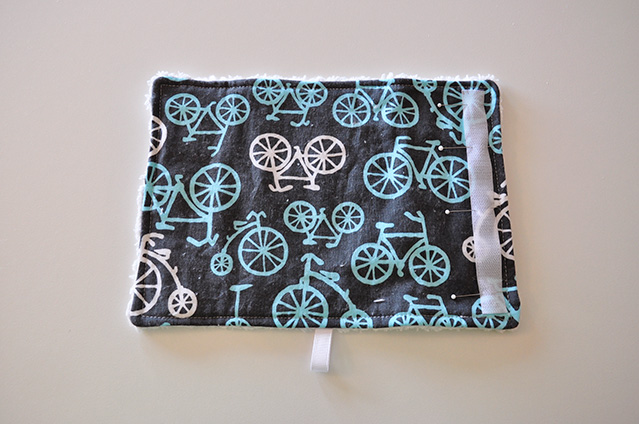
Step 4 Pin the three layers together. [I deviate a bit from my steps here as I want to attach one side of the Velcro now instead of at the end. One of my biggest pet peeves is labels/velcro stitching showing through to the other side, so whenever possible I try to stitch it down before I finish my items - so I will show the steps on how I did that here] After pinning the three layers together, I unpin about a 1/3 of them on one end, and use those pins to outline where the fabric (bike and flannel layers) hit the chenille layers.


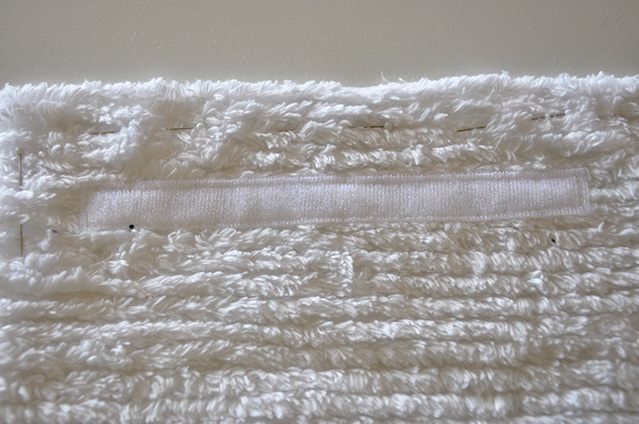
After outlining, get your piece of Velcro, about 6 inches, and place it 5/8 inch from the sides. Why 5/8ths? Well I have 3/8 seam allowance and I don't want it to be right next to the edge so I bump it in 1/4 inch. Pin the Velcro in place. I put the fuzzy Velcro on the chenille side, I doubt it really matters...So if you are putting your Velcro on now, it should look like the picture above. Sew the Velcro down.


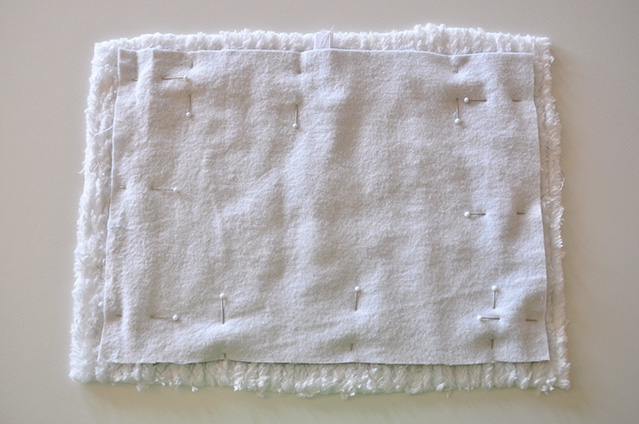
Now pin the original 2 layers back down on top of the chenille, as we were doing at the beginning of Step 4.


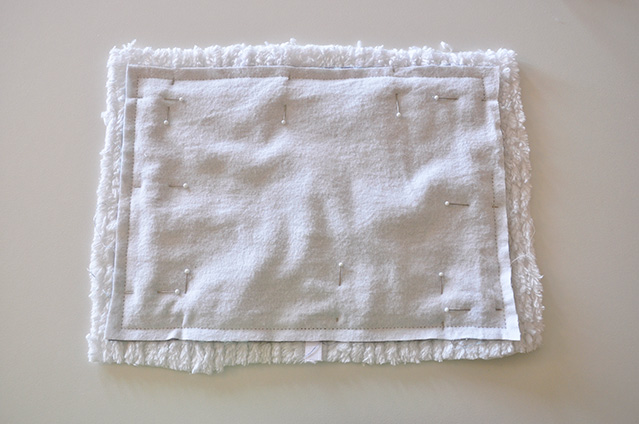
Step 5 Sew the three layers together using a 3/8 seam allowance. Leave a small 1" hole somewhere. I chose one of the ends.


Step 6 Unpin and cut the chenille to be flush with the other 2 layers.


Step 7 Flip inside (rightside) out.


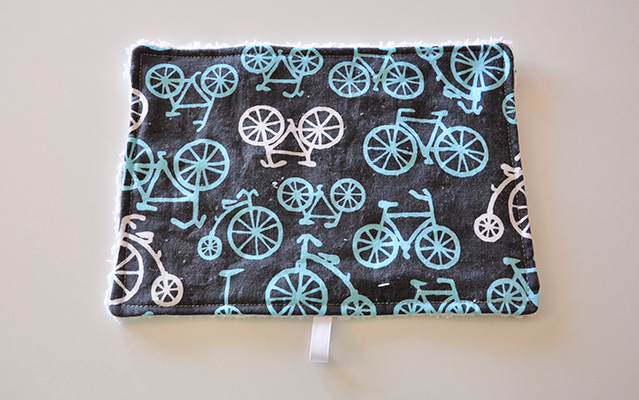
Step 8  Pin in place and topstitch the three layers together.


Step 9  Add the other side of the Velcro on. If you were not adding the Velcro at Step 4, this is where you would add both layers of Velcro.


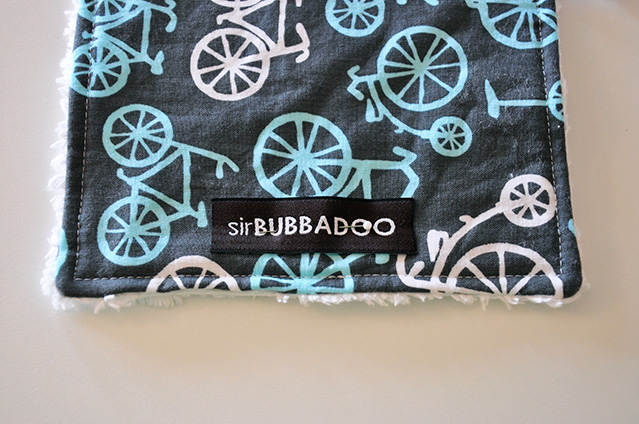
Step 10 Add your label. I thought that just having it on one would be enough, having it on both seemed like overkill to me.


And you're done! Yeah!



8.04.2011

Baby Fish Mouth


Lately The Bubb has been head over heels for his fish bath toy. So we've been calling him Baby Fish Mouth. For those of you who've seen When Harry Met Sally you might find this amusing, if you haven't you should definitely watch it! I also find it amusing that Emmett is wearing his Chomp shark shirt today while eating his bath fish. Okay enough random thoughts for today :)

8.02.2011

Storage for Used Needles and Pins


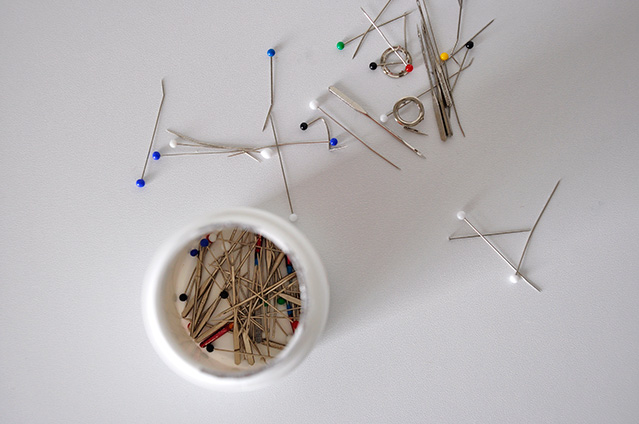
For the past year or so, well maybe not that long, I've had a little pile of my broken needles, bent pins, etc. sitting around that I just can't get myself to put in the trash as it could injure someone (I guess all those days spent in the lab made an impact on me after all, no sharps in the garbage). So I've been just keeping them together.

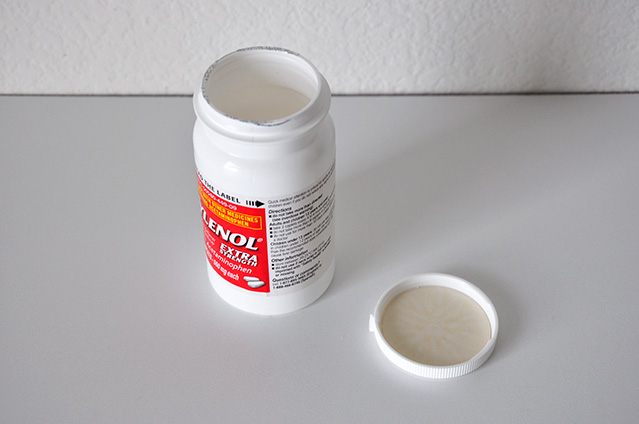
Well a few days ago we emptied a Tylenol bottle, I try not to think about the fact that we have used all those drugs, but I am getting off topic. This bottle, or any plastic type bottle like this (vitamin, etc.) is excellent for putting these sharp things into. Plus they have a child safety top - which typically means, child can get into but adults can't :)


And they all fit really nicely inside, plus a lot of room to spare.


A Bubb proof container! But I thought I would share just in case you are wondering what to do with your needles and pins :)

8.01.2011

11 Months Old


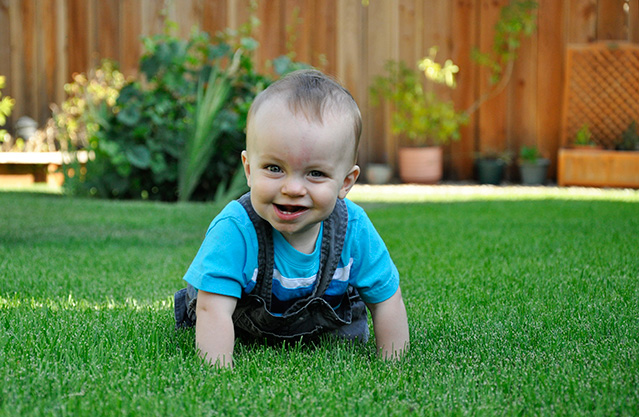
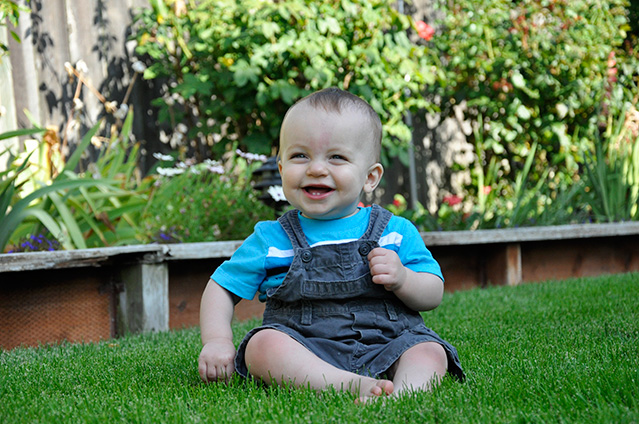
Our little man is almost a year old! He is such a joy to be around and as you may or may not know he is active active active. The Bubb loves to explore and figure out how things are working. He is just learning that doors open and close and will sit there and swing his bedroom door back and forth (not cupboards too much yet, thankfully. he's opened them a few times, but I quickly close it and hold it closed while he tries again and then I tell him that he was just hallucinating, it didn't really open, and he moves on. Usually to some fabric fuzz or string :)


He is still taking two naps, one in the morning and one in the afternoon. They last anywhere from 45 minutes to 2 hours, depending on if the morning one gets interrupted, then the afternoon one is longer, but if he sleeps for longer in the morning then the afternoon one is shorter, as one would expect. At some point I know he will drop the morning nap but for right now I am enjoying it!


The Bubb is eating really well, we typically give him whatever we are eating for dinner, minus the sauces. He's tried pickle and loves it, so we think he is taking after his mom :) But we give him a tiny pieces of lettuce, tomato, turkey, chicken, etc. and it all goes down with little protest, so hopefully he will keep that up. His favorite by far is the banana oatmeal in the morning. We cannot give it to him fast enough. He has two bottom teeth, and no more yet. I thought he was going to get some last week, but they haven't come in yet, so he'll get them when he is ready. Hmm what else...we give him oyster crackers (you know for soup? as we didn't like the "baby" crackers with all the sugar in them, so we opted for no salt oyster crackers) to munch on while we are making his food and he likes to pick them up and then store them in his mouth, sorta like a squirrel, so we are starting to call him squirrel baby when he is eating. so needless to say, he gets them one at a time now.

He claps, babbles, giggles, and loves to be silly. I love that he can go from super active and then he finds his books and will spend 30 minutes in his room just turning the pages and looking from book to book. I have to be right next to him for him to do this (cause why would he want me to be productive?) but it works out well because then I get a nice 30 minute rest. But I love that he loves his books!

What else? He is trying to climb up on his activity table and onto the couches. He is sliding along things, like our bookcases, couches, crib, walls, etc. when he wants to get to something. But he won't let us walk him yet. I think, just like crawling, he'll just turn off the couch one day and just walk, no practice necessarily. Grandma thinks he is practicing in his crib, which is probably true. He can go up the stairs really well, isn't too interested in going back down and is a super crawler. Once he figures out that walking is faster, he'll being doing that for sure! Not sure he'll make it for his first birthday though, maybe for my birthday :)

Anyway we love him so very much and can't believe how fast he is becoming a toddler. Although he isn't toddling yet, so I guess I can't call him a toddler?


Related Posts Plugin for WordPress, Blogger...