The Monaluna Space and Starburst fabrics that comprise this quilt, had originally been intended for another purpose, but after seeing them, I thought that they would be better suited as a blanket. And since Emmett already has quite a few regular blankets, I thought I would give quilting another go.
Supplies:
1.5 yards of Monaluna Space fabric
1.5 yards of Monaluna Starburst fabric
1 yard of gray Kona cotton for the bias tape
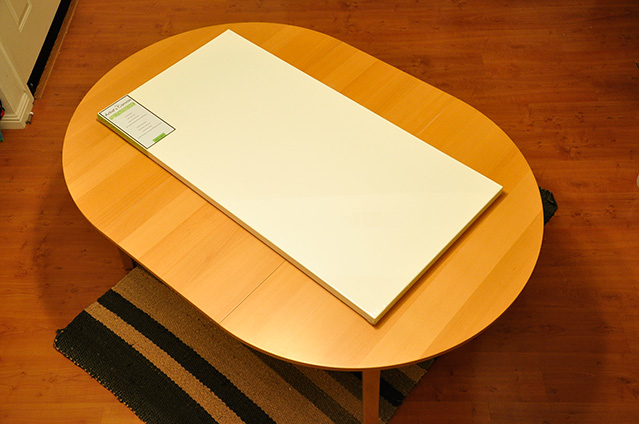
60" x 60" package of bamboo batting (yeah for JoAnn's 50% off sale!)
Bias Tape Maker, Walking Foot, 1 spool of 100% cotton white thread (don't know why I decided that I needed to use cotton thread, maybe cause I love to buy thread and it was on sale and they were so pretty, but I'll stop myself there before you think I am totally insane), 1 spool of matching gray thread for bias tape.
Time Spent:
1 day to wash, iron, plan and cut the fabric
1/2 day to sew the pieces together and make the quilt sandwich
1 day to quilt
1 day to make the bias tape and attach it
The finish quilt size is 42" x 46"
Construction Process:
I forgot to take pictures of my first steps, so they went something like this. I planned out what I wanted the quilt to look like and cut the pieces to the sizes that I needed. I added 0.5 inches to each of my planned pieces so that I could have a 0.25 seam allowance. I am not sure why (maybe to allow for fabric movement) but in the
book I was using as a reference guide to put the quilt together, all the pictures of the quilt sandwich showed the batting bigger than the front, and the back bigger than batting. So in order to copy this I also made the pieces about an inch wider (horizontally) than my planned quilt size for the front, and about 2 inches wider for the back rectangular pieces. I also added about 2 inches to the top and bottom rectangle on the back vertically but not to the white rectangle on the back.

To make the quilt sandwich I put the batting on the floor then set the quilt top face up on top of it and smoothed out all the wrinkles. Oh I didn't wash the batting before hand, maybe I should have, but I realized as I was trying to smooth the quilt top on it that it was really wrinkly, so I ironed it. It was much easier to smoothly put the quilt top on the batting after that. I trimmed the batting freehand to be about 1 to 1.5 inches of extra sticking out around the quilt top. Then I rolled up these two layers (the top stuck to the batting really well). Next I put the quilt back face down on the floor and used painters tape to keep it stationary. I unrolled the first two layers on top of that, face up. These steps did require me to kneel on the quilt pieces themselves. Then I got out my safety pins (apparently they sell quilting safety pins for like $15, that seems like a lot to me, considering that my regular safety pins worked just fine, maybe there is something that I am missing??) and pinned all three layers together.
In my insanity I wanted the stripes on the front to center the stripe on the back, so I started there in my pinning, lining it up just how I wanted it and pinned across. From there I safety pinned the rest of it into a grid more or less. It looked like this when I was done pinning.

Now came the quilting part, which I actually really enjoyed! Since I didn't want to attempt free motion quilting, I decided to go with a more straight forward quilting pattern. I outlined the rectangles by stitching a line 0.25 inches from each seam line horizontally. Then I quilted diagonally following the space ship pattern. I outlined the blue space ships and then did one line down the side of the yellow space ship, so in the end I got a 3 line pattern all the way across. To aid myself in the diagonal lines, I drew lines with a disappearing fabric marker. Unfortunately the line would disappear by the time I had only sewed about half way down it! But I kept trying the pen, for some dumb reason, thinking that oh it will visible long enough this time. Dumb dumb dumb, what a waste of my time to sew one line then draw the next then sew! Eventually I gave up and used chalk and did all the lines at once, which I should have done at the beginning!! So this is what the quilting looked like when finished.


And the back:
You have no idea how excited I was to get the front and back rectangles to match up!
Next I trimmed all the edges.
The next step was making the dreaded bias tape. For my last
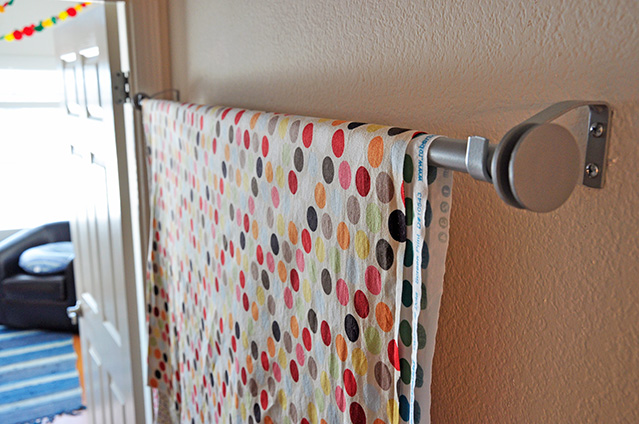
quilt I used the continuous bias tape method, and oh my goodness how that took forever. So this time I did it by making one strip at a time and then sewing them together. While this way gave me instant satisfaction after attaching each piece, it still wasn't easy or fun. Here is the bias tape pinned to the quilt, I used a 2" wide bias tape maker, as I like the thicker bias tape look.
I prefer to get my involvement with bias tape over with quickly so I don't sew one side and then stitch in the ditch blah blah blah. I just attach it and sew through both sides at the same time.
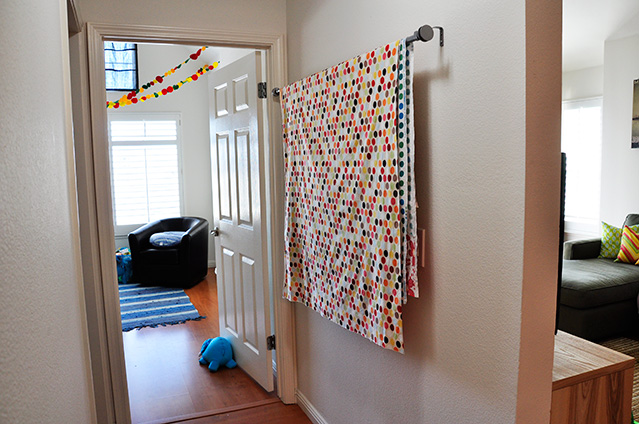
And here it is all finished. The Bubb seems to like it and that's all that matters :)